
What's on this page
- Before you start: what you need
- Step 1: Define the job the battery must do
- Step 2: Size the battery in kilowatt-hours
- Step 3: Check your inverter and pick AC or DC coupling
- Step 4: Choose your backup scope and wiring
- Step 5: Estimate the cost and confirm incentives
- Step 6: Handle permits and utility interconnection
- Step 7: Decide installer versus DIY, then commission safely
- How much battery capacity each goal needs
- Comparing AC coupled and DC coupled retrofits
- Where the retrofit cost goes
- A worked example: adding a battery to a 7 kW array
- How adding a battery changes your payback
- Standalone battery versus a solar paired retrofit
- Common mistakes when adding a battery
- Troubleshooting: retrofit edge cases
- Your battery retrofit checklist
- The bottom line
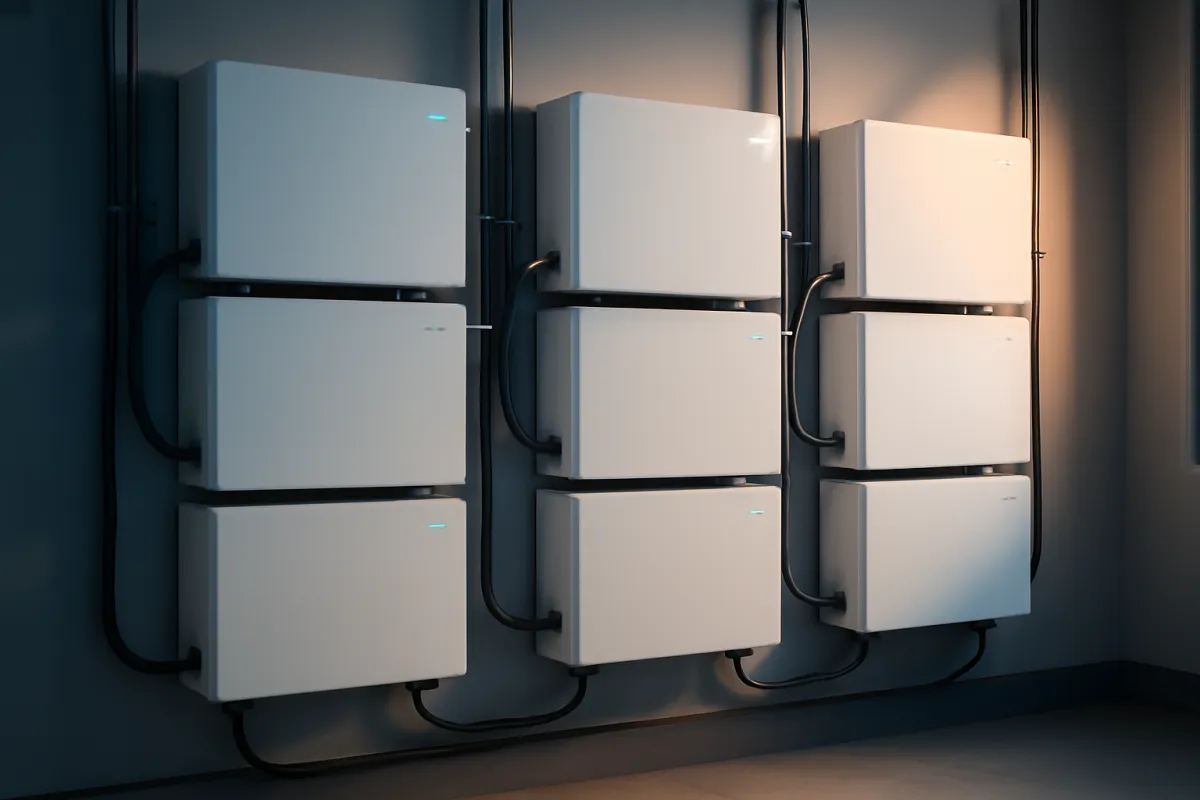
Short answer: Adding a battery to existing solar is a seven-step project: define the job (savings or backup), size it in kilowatt-hours to the loads you want to run, check your inverter and choose AC or DC coupling, set the backup scope, price it, permit and interconnect it, then have it installed and commissioned. For a retrofit onto a working inverter, AC coupling is usually simpler. Expect a gross installed cost commonly around $10,000 to $18,000.
Adding a battery to an existing solar system is one of the most common upgrades a homeowner makes, and it is also one of the easiest to get wrong, because the decision is really four smaller decisions wearing a trench coat: what the battery is for, how big it should be, how it wires into panels you already own, and who is allowed to connect it. Get those in the right order and the retrofit is a clean, permitted project. Reverse them, start by falling in love with a specific battery, and you can end up with the wrong size, an inverter that will not talk to it, or a backup setup that leaves out the circuits you actually cared about. By the end of this field guide you will be able to plan the whole retrofit in the right sequence and check an installer’s proposal instead of trusting it.
We will walk through seven steps: define the job, size the battery in kilowatt-hours, check your inverter and pick AC or DC coupling, choose your backup scope and wiring, estimate the cost and confirm current incentives, handle permits and interconnection, then decide installer versus do-it-yourself and commission it safely. This is the how-to companion to our decision briefing on whether solar batteries are worth it; that page answers “should I,” and this one answers “how.” Before you finish, run your own loads and prices through the companion calculator, because the size and cost are downstream of numbers only you have.
Key takeaways
- Adding a battery is a seven-step project: define the job, size it, check the inverter and coupling, set the backup scope, price it, permit it, then install and commission it safely.
- For a retrofit onto panels that already have a working inverter, an AC-coupled battery is usually the simpler path because it leaves your existing solar equipment untouched.
- Size the battery in kilowatt-hours to the loads you actually want to run, not by counting units; roughly 10 to 13 kWh often covers essential-loads backup for a typical home, illustratively.
- Expect a gross installed cost commonly around $10,000 to $18,000, with no federal credit to subtract from it, since section 25D was terminated for anything placed in service after December 31, 2025.
- A battery ties into your main panel and a transfer device, so it needs a licensed electrician, a permit, and a utility interconnection agreement, not a DIY afternoon.
Before you start: what you need
This field guide takes an afternoon of planning, not counting the permit and install timeline, which runs weeks. Difficulty on your side is low, because the hard parts are the electrician’s, but honest inputs still decide whether the plan is any good. Gather five things before you begin so each step has real numbers to work from.
- Your existing solar details: the inverter brand and model, roughly how old it is, and whether you have a single string inverter or microinverters. This one fact drives the AC versus DC coupling choice more than anything else.
- A short list of loads you want to back up: refrigerator, a few lights, internet, a well pump, medical equipment. You are sizing to these, not to your whole house by default.
- A recent electricity bill: your evening import rate and your export or off-peak rate, since the gap between them is what a battery earns each day on bills.
- Your utility’s storage rules: whether they allow batteries, require a specific interconnection agreement, and how they treat exports. Your installer will know, but knowing yourself helps.
- An honest budget and an incentive check: a rough number you can spend, and a reminder that the federal credit is gone, so only a state or utility program you confirm yourself can lower the price.
With those in hand, the seven steps below turn them into a battery size, a coupling method, a backup scope, a cost, and a permitted install in that order. The one rule that saves the most regret is simple: decide the job before you shop for a battery, because the job sets the size and the size sets almost everything else.
Step 1: Define the job the battery must do
Start by naming the job, because a battery bought for the wrong reason disappoints no matter how well it is installed. There are two jobs, and they are genuinely separate. The savings job time-shifts cheap midday solar into expensive evening hours, showing up as a smaller bill. The backup job replaces the grid during an outage, showing up only as lights that stay on and food that does not spoil. Most homeowners want some of both, but the mix decides your size, your wiring, and whether the retrofit even pencils out.
Write down which job dominates for you. If your utility still credits exported solar at full retail, the grid already acts as a free battery, so the savings job is weak and you are really buying backup insurance. If your export rate is poor or you are on steep time-of-use pricing, the savings job does real work and a battery earns its keep on bills alone. Our decision briefing on whether solar batteries are worth it walks this split in depth, and the difference between home battery backup and a generator matters here too.
The watch-out at this step is blending the jobs into one fuzzy goal. A battery sized for daily bill-shifting may be too small to carry a whole house through a long outage, and a battery bought purely for backup may sit idle and earn nothing on your bill. Decide the primary job now, in one sentence, and carry it into Step 2, where it becomes a number of kilowatt-hours. Test the two jobs against your own tariff in the companion calculator before you shop.
Step 2: Size the battery in kilowatt-hours
With the job named, turn it into capacity. Batteries are measured in kilowatt-hours of usable energy, and you size to the loads you actually want to run, not to a round number a salesperson suggests. For the backup job, list your essential loads and estimate how many kilowatt-hours they draw across the hours you want to cover. A refrigerator, some LED lighting, internet gear, and phone charging might total a few kilowatt-hours across an evening and overnight; add a well pump or a second fridge and the number climbs.
Work an illustrative example. Suppose your essential loads draw about 8 kilowatt-hours from evening to morning. Add a reserve so you are not routinely draining the battery to empty, commonly 15 to 25 percent, which lifts the target to roughly 10 kilowatt-hours of usable capacity. At a common per-unit usable capacity near 13 kilowatt-hours, that is one battery. Whole-home backup that includes central air conditioning or electric heat can easily push past 25 kilowatt-hours and two or more units, which is why our note on how many Powerwalls you need exists as its own piece.
For the savings job, size to the gap between your evening usage and your solar production, because capacity beyond what you actually cycle each day earns nothing. The watch-out here is oversizing: an extra unit of capacity that never gets used is money sitting on the wall. Bigger is not automatically better. Enter your own loads and reserve in the companion calculator to see the usable kilowatt-hours and unit count fall out as arithmetic rather than a guess.
Step 3: Check your inverter and pick AC or DC coupling
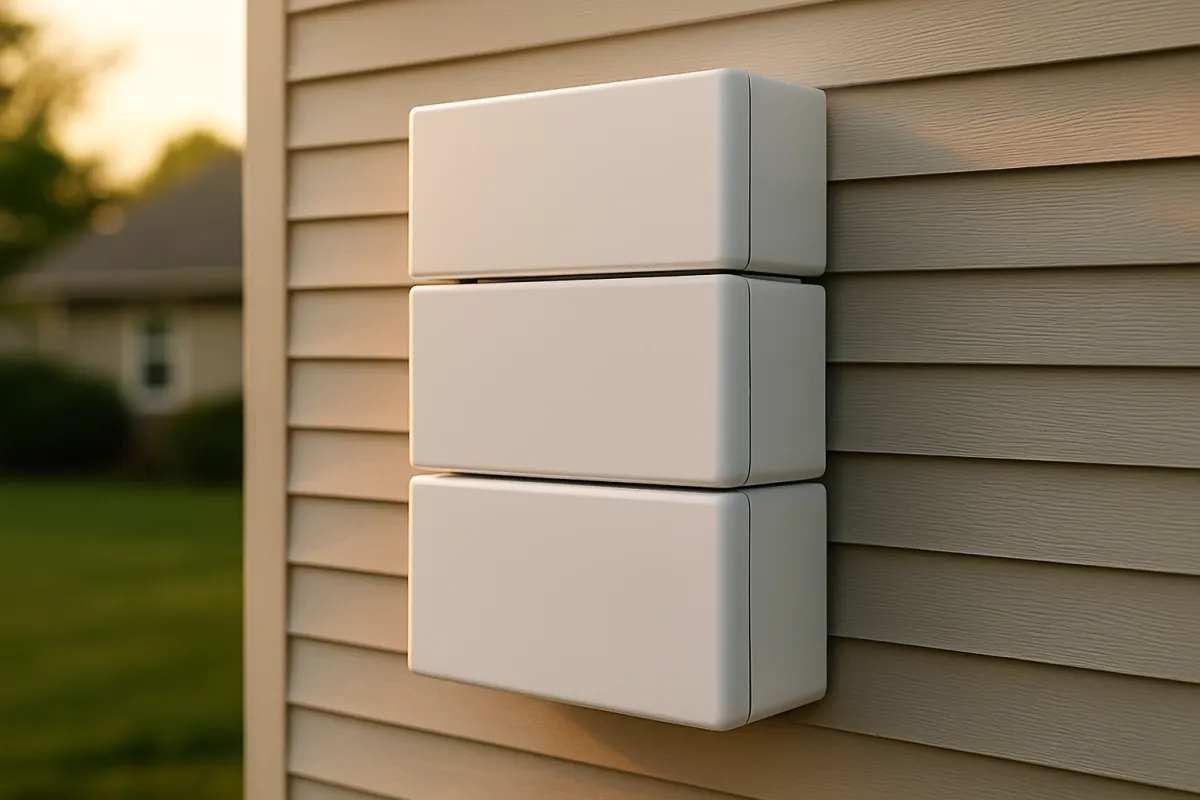
This is the step that makes a retrofit different from a new install, so it deserves care. Your existing panels already feed an inverter that turns their direct current into the alternating current your house uses. A battery has to join that system somewhere, and there are two places it can join, which the industry calls AC-coupling and DC-coupling. The choice is not about brand loyalty; it is about what equipment you already own.
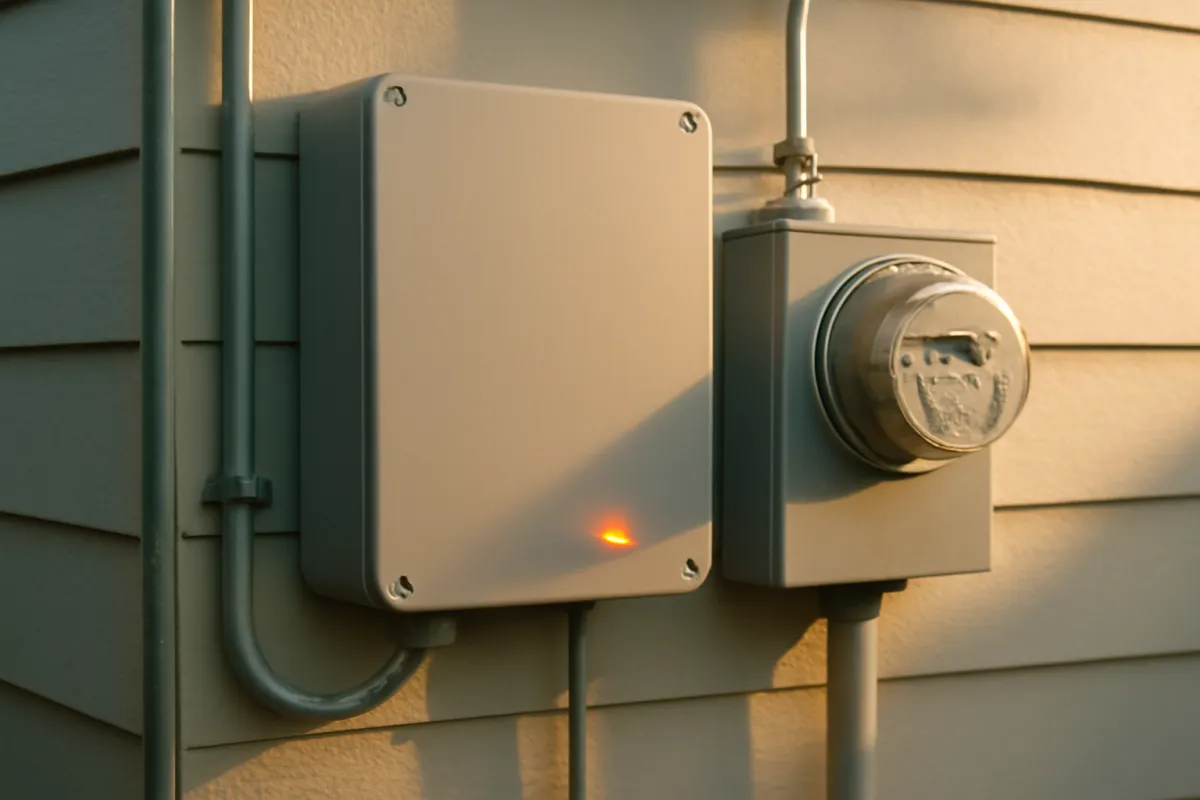
DC-coupled means the battery shares one hybrid inverter with the panels, so solar energy flows straight into storage as direct current with fewer conversions, which is slightly more efficient. It is the clean choice for a brand-new build, but as a retrofit it usually means replacing your working string inverter with a hybrid one, which is invasive and can reset equipment warranties. AC-coupled means the battery brings its own built-in inverter and ties in on the alternating-current side, downstream of your existing solar inverter, so your original array keeps running untouched. For most add-on projects onto panels that already have a functioning inverter, AC-coupling is the simpler path.
The watch-out is compatibility. Not every battery pairs with every inverter, and some utilities and manufacturers have specific approved-equipment lists. Have your installer read your inverter’s brand, model, and age, and confirm the battery you want is compatible before anything is ordered. An all-in-one battery with an integrated inverter designed for retrofits can sidestep much of this. Get this match right and the rest of the project is routine; get it wrong and you can end up buying an inverter you did not plan for.
Step 4: Choose your backup scope and wiring
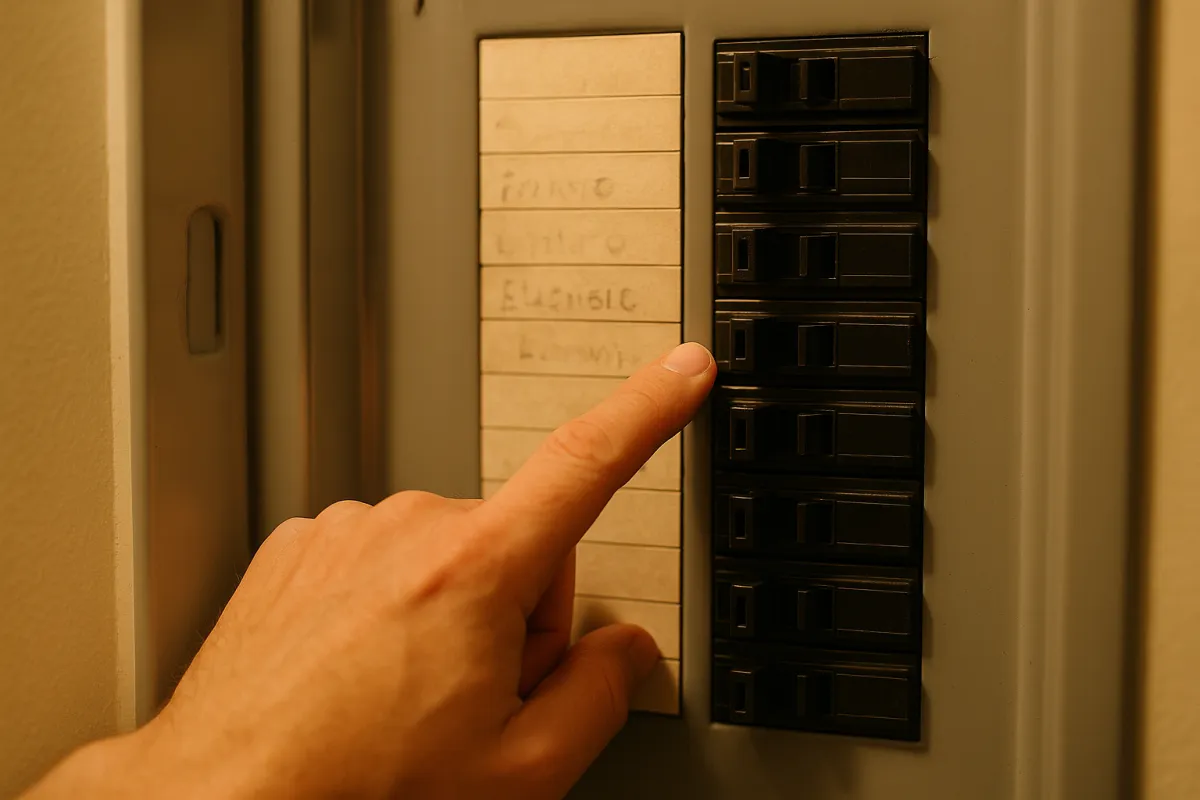
If backup is part of the job, decide how much of the house the battery should carry, because that choice sets a surprising amount of the wiring cost. There are two broad scopes. Essential-loads backup wires a subset of circuits, the refrigerator, some lights, internet, maybe a well pump, into a small protected subpanel that the battery keeps alive during an outage. Whole-home backup routes the entire house through a backup gateway so everything stays on, which feels seamless but demands more capacity and more expensive gear.
Essential-loads backup is where most households get most of the value for a fraction of the cost. A modest battery can keep the circuits that truly matter running for a long time, while whole-home backup can drain the same battery quickly if a central air conditioner or electric range kicks on. Choosing essential loads also lets a smaller battery do the job, which loops back to the size you set in Step 2. The wiring involves either a dedicated critical-loads subpanel or a smart gateway that can shed heavy loads automatically.
The watch-out is discovering after the fact that a circuit you cared about was left off the protected panel. Make the list explicit before the electrician wires it: which outlets, which appliances, which rooms. Also confirm your battery supports “islanding,” the ability to disconnect from the grid and power your home safely during an outage, since a grid-tied battery without that feature will shut down when the grid does, for line-worker safety. Nail the scope now and Step 5 can price it accurately.
Step 5: Estimate the cost and confirm incentives
Now put a number on it. An installed home battery commonly lands in five figures, often somewhere around $10,000 to $18,000 before incentives, and the spread is wide because it depends on capacity, brand, coupling method, and how much electrical work your panel needs. AC-coupled retrofits can carry a modest premium because the battery supplies its own inverter, and adding a backup gateway or a protected subpanel adds labor. As a planning shorthand, thinking in dollars per usable kilowatt-hour installed, an illustrative figure near $1,000 per usable kilowatt-hour, lets you scale the estimate to the size you chose in Step 2.
The federal side of that budget is now settled, and settled at zero. The residential clean energy credit under section 25D, which used to cover home batteries alongside panels, was terminated by Public Law 119-21, and the IRS is explicit that it is not available for any property placed in service after December 31, 2025. The test is when the original installation was completed, not when you ordered the battery, signed the contract, or paid the deposit, so a retrofit that gets commissioned in 2026 has no federal credit no matter when the paperwork started. Budget the gross number. Some states and utilities still run their own storage rebates or performance programs, and those are worth chasing, but you confirm them with your own utility and state energy office and take the tax question to a qualified tax professional rather than to an installer.
The watch-out at this step is treating an illustrative number as a quote. Every figure here is a teaching example, not a price for your home. Get three real bids, priced per usable kilowatt-hour so you can compare batteries of different sizes on equal footing, the same discipline our solar cost briefing applies to panels. Then run your own capacity and price through the companion calculator to see the gross cost and the cost per usable kilowatt-hour move as you edit them.
Step 6: Handle permits and utility interconnection
A battery is not a plug-in appliance; it is a permitted electrical project that your local building department and your utility both have to sign off on. Expect two parallel tracks. The first is the electrical permit and inspection through your city or county, which confirms the work meets code. The second is the utility interconnection agreement, the utility’s permission to connect energy storage to their grid, which protects their equipment and their line workers and sometimes governs how the battery is allowed to export.
Your installer normally files both, but you should understand the timeline, because it is the part that turns an afternoon of wiring into a multi-week project. Interconnection review can take weeks, occasionally longer where utilities are backed up, and the system generally cannot be switched on until both the inspection passes and the interconnection is approved. Some utilities have battery-specific rules, capacity limits, or metering requirements, and a few require the battery to be on their approved-equipment list, which reaches back to the model you chose in Step 3.
The watch-out is assuming a battery skips the paperwork because the panels already have theirs. A storage retrofit is its own permitted change to the system, with its own interconnection, even on an array that was interconnected years ago. Ask your installer to spell out who files what and how long each step takes, and do not schedule anything that depends on the battery until the approvals are actually in hand. Rushing past this step is how projects fail inspection or breach a utility agreement.
Step 7: Decide installer versus DIY, then commission safely
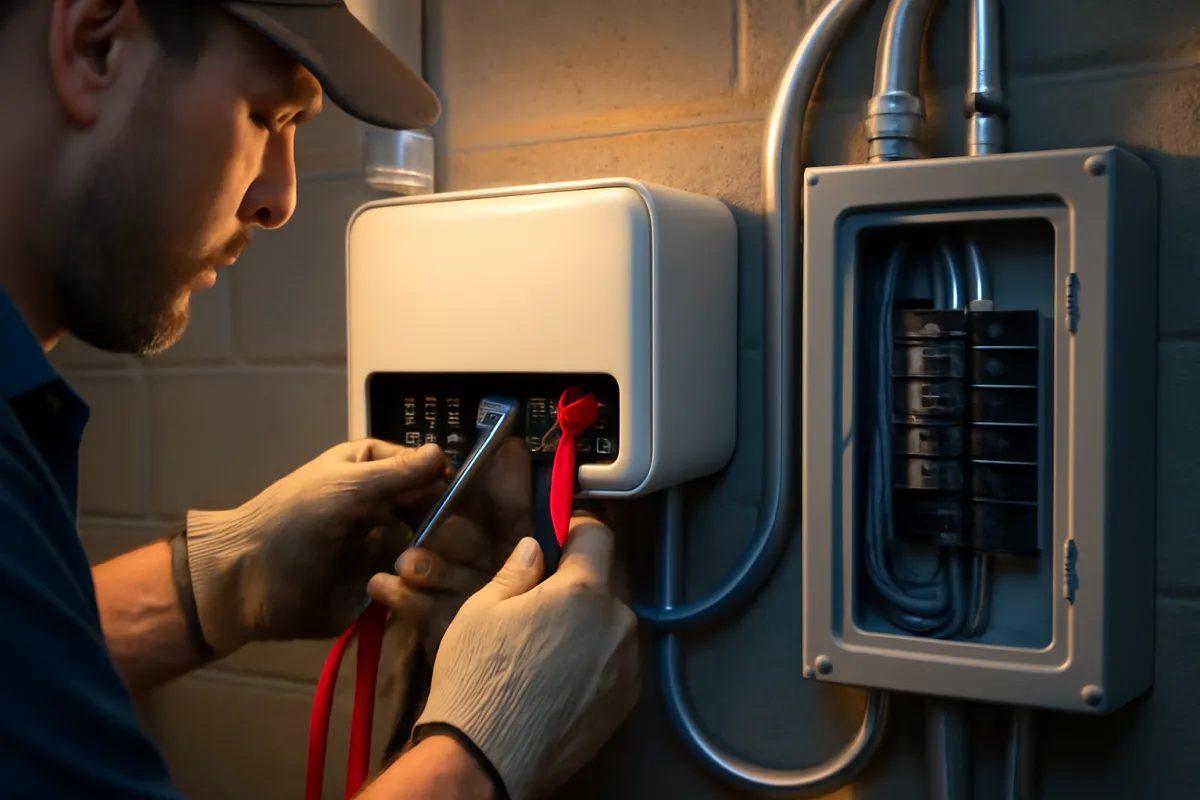
The last decision is who does the work, and for a battery the honest answer is almost always a licensed professional. A home battery ties into your main service panel and, for backup, into a transfer device, at voltages and currents that are genuinely dangerous. In most jurisdictions the electrical connections legally require a licensed electrician, and doing them yourself can void the equipment warranty, fail inspection, breach your utility interconnection agreement, and create a real fire and shock hazard. This is not a weekend do-it-yourself project in the way that, say, cleaning panels is.
That does not mean you are helpless. Homeowners can meaningfully lower cost and friction by handling the tasks around the electrical work: clearing and reinforcing the wall space, confirming access, gathering the existing inverter details, and getting comparable bids. Choosing the right installer matters as much here as it does for panels, so the vetting habits in our guide to choosing a solar installer carry straight over: verify the license, check that they have wired batteries before, and get every promise in writing.
Commissioning is the final act, and it is the installer’s job. They will configure the battery’s operating mode, whether it prioritizes backup reserve, daily time-shifting, or a blend, set the reserve you want held for outages, and test that the system islands correctly when the grid drops. Ask them to walk you through the monitoring app and to demonstrate a simulated outage before they leave. The watch-out is signing off without seeing the backup actually work; test it while the crew is still there, not during the first real storm.
How much battery capacity each goal needs
It helps to see how the backup scope from Step 4 maps to capacity, because the jump from essential loads to whole-home is larger than most people expect. The figures below are illustrative usable kilowatt-hours for a typical home, meant to show the shape of the decision rather than to size your specific house. Your own loads, set in Step 2, are what actually decide it.
Usable battery capacity by backup goal
Illustrative usable kWh for a typical home. Your own essential loads set the real figure.
Bar widths track capacity against the 30 kWh whole-home reference (5 of 30, 10 of 30, 20 of 30, 30 of 30). At a common 13 kWh per unit those goals are roughly one, one, two, and three units. Central air conditioning and electric heat are what drive the top of the range.
Read the bars and the lesson is that essential-loads backup is a bargain compared with whole-home. Doubling from bare essentials to a well pump and an overnight buffer is modest, but insisting that the central air conditioner keep running through an outage can triple the battery you have to buy. That trade, comfort versus capacity, is worth deciding on purpose rather than by default. A smart gateway that sheds the heaviest loads automatically can let a smaller battery cover more of the house without paying for the very top of this chart.
Comparing AC coupled and DC coupled retrofits
Because the coupling choice in Step 3 confuses more homeowners than any other part of a retrofit, it is worth laying the two side by side in plain terms. Both end with a working battery; they differ in how the energy is converted and how much of your existing gear is disturbed.
A DC-coupled retrofit routes solar into the battery as direct current through a single shared hybrid inverter, converting to alternating current only when the energy is actually used in the house. That single conversion makes it marginally more efficient, and it is elegant on a new build where the inverter is being chosen anyway. On an existing system, though, DC-coupling usually means pulling out your working string inverter and replacing it with a hybrid one, which is more labor, more cost, and a possible warranty reset on equipment that was doing its job fine.
An AC-coupled retrofit leaves your solar inverter in place and adds the battery with its own inverter alongside it. Solar power is converted to alternating current by your existing inverter, and when it charges the battery it is converted back to direct current by the battery’s inverter, a couple of extra conversions that cost a small slice of efficiency. In exchange you get a far less invasive install: nothing about the original array changes. For the majority of add-on projects, that trade favors AC-coupling, which is why it is the common retrofit answer. The right pick still depends on your specific inverter, so let a licensed installer make the final call.
Where the retrofit cost goes
Understanding how the installed price splits helps you read a battery quote and spot where the money actually goes. The shares below are illustrative for a typical AC-coupled retrofit, and they will shift with your battery choice, your backup scope, and how much your electrical panel needs to change.
Where a battery retrofit's cost goes
Illustrative share of installed cost for a typical AC-coupled retrofit. Sums to 100%.
The battery itself dominates, which is why sizing it correctly in Step 2 matters most for cost. Coupling equipment and the backup gateway together are a meaningful slice, so an essential-loads scope that needs less gateway hardware trims real money. Confirm current incentives, which are not shown here and reduce the net you actually pay.
The takeaway is that the battery hardware is the largest lever, so the size you choose drives the bill more than any other single decision. The coupling equipment and the backup gateway together form the next slice, which is exactly why an essential-loads scope, needing a smaller protected subpanel rather than a whole-home gateway, can shave real cost. Permits and interconnection are a small share of the money but a large share of the calendar, a reminder that the cheap step in dollars can be the slow step in weeks.
A worked example: adding a battery to a 7 kW array
Take one household all the way through the seven steps. The Nguyen family already owns a 7 kilowatt rooftop array, installed a few years ago with a standard string inverter, and their utility recently cut its export rate, so their evening power is expensive while their exported solar earns little. In Step 1 they name the job: mostly savings from time-shifting, with essential-loads backup as a welcome bonus during the occasional outage. That single sentence shapes everything that follows.
Step 2 sizes it. Their essential evening and overnight loads, a refrigerator, lights, internet, and a well pump, add up to about 8 kilowatt-hours. Adding a 20 percent reserve lifts the target to roughly 10 kilowatt-hours of usable capacity, which one battery near 13 kilowatt-hours covers with headroom. Step 3 checks the inverter: their existing string inverter works fine, so they choose an AC-coupled retrofit that leaves it in place and confirm the battery they want is on their utility’s approved list. Step 4 sets the scope to essential loads, wiring the fridge, well pump, and key outlets into a small protected subpanel rather than paying for whole-home backup.
Step 5 prices it. At an illustrative $1,000 per usable kilowatt-hour, a 13 kilowatt-hour battery runs near $13,500 installed, gross; there is no federal credit to take off that, so $13,500 is the figure they budget, and they check their own utility and state energy office for anything local. Step 6 files the permit and interconnection, which their installer estimates at several weeks. Step 7 hires a licensed, battery-experienced installer, who commissions the unit in savings-priority mode with a backup reserve held for outages and demonstrates a simulated outage before leaving. Now stress the example: if the Nguyens later wanted the central air conditioner backed up too, Step 2 would rerun far larger, likely two units, and the cost would climb accordingly. Price your own version in the companion calculator.
How adding a battery changes your payback
Homeowners often expect a battery to speed up their solar payback, and it is worth being clear that it usually does the opposite, because a battery does not generate any additional solar energy. It only moves energy you already made from one time of day to another, and provides insurance during outages. So the battery has to earn its cost back through two narrow channels: the money it saves by avoiding expensive evening grid power, and the value of the backup itself, which is real but hard to put on a bill.
Under full-retail net metering, where the grid already credits your exports at the same rate you buy power back, the savings channel is weak, so a battery mostly adds cost and stretches the combined payback. Under weak export rates or steep time-of-use pricing, the savings channel does real work: cycling the battery through the gap between cheap and expensive hours most days can, over a warranty life of roughly ten years, approach the battery’s cost. The backup value then tips borderline cases. Our solar payback briefing works the panel side of this, and the honest move is to keep the two purchases separate: judge the panels on their payback, and the battery on its own blend of savings and insurance rather than folding them into a single blurry number.
Standalone battery versus a solar paired retrofit
Not every battery is added to solar, and it is worth knowing the difference, because it changes the economics. A solar-paired battery, the case this field guide centers on, charges mostly from your own panels, storing energy you generated for free and releasing it when grid power is expensive or absent. That free charging is what makes the pairing attractive, and it is why a retrofit onto an existing array is such a common upgrade.
A standalone battery, with no solar or added to a home that will not go solar, charges from the grid during cheap off-peak hours and discharges during expensive peak hours under a time-of-use rate, plus it provides outage backup either way. It can still make sense where rate spreads are wide or outages are frequent, but it lacks the free-fuel advantage of solar charging, so its savings case leans entirely on the tariff. The retrofit steps here apply to both, with one difference: a standalone battery skips the inverter-compatibility question from Step 3 in the sense that there is no existing solar inverter to match, though it still needs its own inverter and the same permits and interconnection. If you are weighing storage without panels, the sizing, cost, permitting, and safety steps still hold; only the charging source changes.
Common mistakes when adding a battery
The same handful of errors accounts for most retrofit regret, and every one is avoidable before you sign.
- Shopping for a specific battery before defining the job. The job sets the size and the wiring; picking the box first often means buying the wrong capacity or a scope you did not need.
- Ignoring inverter compatibility. Assuming any battery pairs with your existing inverter can force an unplanned inverter swap or a stalled project; confirm the match in Step 3 first.
- Oversizing for backup you rarely use. Insisting the whole home, air conditioner included, ride through every outage can triple the battery; essential-loads backup covers what matters for far less.
- Budgeting off a remembered incentive. The 30 percent federal credit people remember no longer applies to a battery placed in service now, and a proposal that still deducts it is working from superseded rules. Ask for the gross price and confirm any state or utility program in writing.
- Forgetting the permit and interconnection timeline. A battery is a permitted change with its own utility agreement even on an existing array; treating it as a quick add-on leads to failed inspections or breached agreements.
- Skipping the outage test at commissioning. Signing off without watching the backup actually work means discovering a misconfiguration during the first real storm instead of while the crew is still there.
Avoid these six and the battery you add will fit the job you actually have, on the panels you already own, rather than a salesperson’s convenient package.
Troubleshooting: retrofit edge cases
What if you have microinverters instead of a string inverter? Microinverter systems, where each panel has its own small inverter, are almost always retrofitted with an AC-coupled battery, because there is no single central inverter to replace with a hybrid unit. The battery simply ties in on the alternating-current side. This is common and well understood, so a microinverter array is not a barrier to adding storage; it just points you firmly toward AC-coupling.
What if your electrical panel is old or full? A battery and its backup wiring connect to your main service panel, and an aging or fully loaded panel may need an upgrade before the battery can be added safely to code. This is a real and sometimes significant added cost that a good installer will flag during the site visit, so ask about panel condition early rather than being surprised at quoting. It is part of why two homes can get very different battery prices for the same battery.
What if your utility limits or discourages storage exports? Some utilities restrict how, or whether, a battery can export to the grid, or require specific metering. This rarely blocks the backup and self-consumption jobs, which happen behind your meter, but it can limit any plan to earn money exporting stored energy. Confirm your utility’s storage export rules during Step 6 so your savings expectations match what is actually allowed.
What if you plan to add solar and a battery together later? If you do not yet have panels, a DC-coupled design with a shared hybrid inverter is often the more efficient and economical choice, since you are buying the inverter anyway and the crew is on site once. The retrofit advantage of AC-coupling applies specifically to homes that already own a working solar inverter. If both are in your future, weigh doing them together against the flexibility of adding storage later, using our overview of how to go solar to sequence the whole project.
Your battery retrofit checklist
Use this as the save-and-act summary. Work it top to bottom and you will reach a permitted, correctly sized install rather than an expensive surprise.
- Name the primary job in one sentence: daily savings, outage backup, or a defined blend of both.
- List the exact loads you want to keep running and total their evening and overnight kilowatt-hours.
- Add a 15 to 25 percent reserve to that total to set your usable-capacity target.
- Record your existing inverter's brand, model, and age, and whether it is a string inverter or microinverters.
- Confirm AC-coupled versus DC-coupled with your installer, and that the battery is compatible and utility-approved.
- Decide the backup scope: essential-loads subpanel or whole-home gateway, and list the protected circuits.
- Estimate cost per usable kilowatt-hour on the gross price, then confirm any state or utility program in writing with the programme itself.
- Confirm the battery supports islanding so it can power your home safely during an outage.
- Have the installer file the electrical permit and the utility interconnection, and learn the timeline.
- Hire a licensed, battery-experienced crew, and watch a simulated outage test before you sign off.
The bottom line
Adding a battery to your solar system is a project you can plan yourself, even though the wiring belongs to a professional. Name the job first, size the battery in kilowatt-hours to the loads you actually want to run, check your existing inverter and pick AC or DC coupling, choose an honest backup scope, price it per usable kilowatt-hour, permit and interconnect it, then hire a licensed crew and watch the backup work before they leave. For most retrofits onto panels that already have a working inverter, an AC-coupled battery near 10 to 13 kilowatt-hours covers essential-loads backup, at an illustrative gross installed cost commonly in the low-to-mid five figures, with no federal credit coming off it. If the unit you are pricing is the market’s reference battery, our breakdown of what a Tesla Powerwall costs installed splits that figure into hardware, electrical work, gateway, and permits.
Decide the job before you shop, size to real loads rather than a round number, respect the permit and interconnection calendar, and treat every dollar figure here as a teaching example rather than a quote. Then run your own loads, reserve, and price through the companion calculator to see your capacity and cost, read it alongside our decision briefing on whether solar batteries are worth it to confirm the battery is right for you at all, and use our note on how many Powerwalls you need if whole-home backup is your goal, so the battery you add fits your loads, your panels, and your utility’s rules rather than a salesperson’s package.
WattBarn publishes this field guide to help you plan a battery retrofit and check an installer’s proposal, not to replace a licensed electrician’s site visit. The capacities, coupling methods, costs, incentives, and timelines above are illustrative examples chosen to teach the seven-step method, not measurements or quotes for your home, and your real loads, existing equipment, utility rules, local codes, and current incentive programs will produce different numbers that change over time. A home battery is a permitted high-voltage electrical and structural project, so let a qualified, licensed installer’s inspection, load calculation, and written proposal, rather than these worked sketches, decide the storage you actually buy and how it is connected.
Frequently asked questions
Can I add a battery to my existing solar panels?
Yes, almost any grid-tied rooftop array can accept a battery as a retrofit, and doing so afterward is common. The main question is how the battery connects to your existing system, either AC-coupled, where the battery has its own inverter and ties in on the household wiring side, or DC-coupled, where it shares a hybrid inverter with the panels. AC-coupling is the usual path for a system that already has a standard string inverter or microinverters, because it leaves your original solar equipment untouched. A DC-coupled retrofit is efficient but often means replacing your inverter, so most add-on projects end up AC-coupled. Confirm the specifics with a licensed installer who can inspect your current gear.
How much does it cost to add a battery to solar panels?
An installed home battery commonly lands somewhere in five figures, often around $10,000 to $18,000 before incentives, depending on capacity, brand, coupling method, and how much electrical work your panel needs. AC-coupled retrofits can carry a modest premium because the battery brings its own inverter, and adding a backup gateway or a protected subpanel adds labor. The federal residential clean energy credit under section 25D, which used to cover home batteries, was terminated by Public Law 119-21 and is not available for any property placed in service after December 31, 2025, so budget the gross installed price with nothing deducted. Some states and utilities run their own storage programs, which you would confirm with your own utility or state energy office. Treat any figure here as illustrative and get itemized bids before you budget.
What is the difference between AC-coupled and DC-coupled batteries?
The difference is where the battery meets your system and how many times the energy is converted. A DC-coupled battery shares one hybrid inverter with the panels, so solar power flows straight into storage as direct current with fewer conversions, which is slightly more efficient and is the tidy choice for a brand-new build. An AC-coupled battery has its own built-in inverter and connects on the alternating-current side, downstream of your existing solar inverter, so your original array keeps working as-is. For a retrofit onto panels that already have a working inverter, AC-coupling is usually simpler because nothing about the existing solar has to be torn out.
Do I need a new inverter to add a battery?
It depends on the coupling method you choose. With an AC-coupled retrofit you typically do not replace your solar inverter, because the battery arrives with its own inverter and simply ties in alongside it. With a DC-coupled retrofit you usually do swap your existing string inverter for a hybrid inverter that manages both the panels and the battery, which is more invasive and can affect your equipment warranties. Some batteries are all-in-one units with integrated inverters designed specifically for easy retrofits. The right answer comes from your installer reading the model and age of your current inverter, so treat this as a compatibility check, not a guess.
How many kWh of battery do I need for backup?
Size the battery to the job in kilowatt-hours rather than counting units. For essential-loads backup covering a refrigerator, lights, internet, and a few outlets through an evening and overnight, a battery of roughly 10 to 13 kilowatt-hours often carries a typical home, an illustrative figure. Whole-home backup, especially with central air conditioning or electric heat in the mix, can demand two or more units and a much larger total. Add a modest reserve above your bare evening load so you are not routinely draining the battery flat. The honest method is to add up the loads you actually want to keep running, then match capacity to that, which the companion calculator does for you.
Is it cheaper to add a battery now or later?
Adding a battery during the original solar install is often modestly cheaper per kilowatt-hour, because the crew is already on site, the permits are already open, and a DC-coupled design can share one hybrid inverter instead of buying a second one. Retrofitting later avoids paying for storage before you need it and lets you buy a newer battery, but you pay for a separate mobilization, a possible AC-coupling inverter, and a fresh round of permits and interconnection. Neither path is universally cheaper; it depends on your utility's rules and whether you actually need storage today. If backup or a weak export rate makes a battery clearly worthwhile now, sooner usually wins on total cost.
Can I install a solar battery myself?
A home battery is a high-voltage, high-current electrical project that ties into your main service panel and, for backup, into a transfer device, so in most places it requires a licensed electrician, a permit, and a utility interconnection agreement. Doing that work without the right license can void equipment warranties, fail inspection, breach your utility agreement, and create a genuine fire and shock hazard. Some homeowners handle preparatory tasks like clearing wall space or running conduit under an electrician's direction, but the electrical connections and commissioning should be done by a qualified professional. Treat battery installation as a job to hire out, not a weekend DIY project.
Will adding a battery change my solar payback period?
Usually it lengthens the combined payback, because you are adding five figures of cost that earns a return only through avoided expensive grid power and outage protection, not through generating more solar. Under full-retail net metering, where the grid already credits your exports at the rate you buy power back, a battery adds cost with little bill benefit and stretches payback. Under weak export rates or steep time-of-use pricing, the battery's daily time-shifting can approach its cost over a warranty life of roughly ten years, and the backup value tips the scales. Price the panels and the battery as two separate decisions rather than blending them into one number.