
What's on this page
- Before you start: what you need
- Step 1: Name the reason you are expanding
- Step 2: Check your roof for real usable space
- Step 3: Check your inverter’s spare capacity
- Step 4: Match the new panels to your old ones
- Step 5: Price the expansion and confirm incentives
- Step 6: Re-permit and re-file the utility interconnection
- Step 7: Hire an installer and commission the addition
- How much more production common expansions add
- Where an expansion’s cost actually goes
- String inverters versus microinverters for an expansion
- When net metering caps the size of your addition
- A worked example: adding six panels to an existing 8 kW array
- Common mistakes when expanding a solar system
- Troubleshooting: expansion edge cases
- Your solar expansion checklist
- The bottom line
Short answer: Adding solar panels to an existing system is a seven step project: name the reason you are expanding, check your roof for genuinely usable space, check your inverter's spare capacity, match the new panels to your old ones as closely as practical, price the addition and confirm current incentives, re-permit and re-file your utility interconnection, then hire a licensed installer to commission the addition safely. Expect a higher price per watt than your original install and a real multi-week permitting calendar.
Most solar systems are sized for the household that existed on installation day, not the household five years later, and that gap is exactly what sends homeowners looking for how to add more panels. A new EV, a heat pump, a home addition, or simply a system that was designed conservatively the first time all land in the same place: a roof that already has panels on it and a homeowner wondering whether more can be added without starting over. The honest answer is usually yes, but an expansion is its own project with its own technical and paperwork questions, not a scaled-down version of the original install.
This field guide walks through seven steps in order: name why you are expanding, check your roof for real usable space, check your inverter’s spare capacity, match the new panels to your old ones, price the addition and confirm incentives, handle the permit and utility interconnection amendment, then hire an installer and commission the work. Along the way we tie the numbers to our panel count briefing, to the inverter choice in our microinverters versus string inverters comparison, and to one of the most common reasons homeowners expand in the first place in our EV charging field guide. Before you finish, run your own numbers through the companion calculator on this page.
Key takeaways
- Adding panels is a seven step project: name the reason, check roof space, check inverter headroom, match the new panels to the old, price it, re-permit and re-file interconnection, then install and commission.
- A string inverter system needs its spare capacity checked carefully before you add panels; a microinverter system handles mismatched additions far more easily.
- An addition commonly costs more per watt than your original install, because a small job still carries much of the same mobilization and permitting overhead spread across fewer watts.
- Expanding a grandfathered system can, in some jurisdictions, move your whole array onto a current, less generous net metering rate, not just the new panels, so ask your utility before you commit.
- There is no federal credit to subtract from the price, since section 25D is unavailable for property placed in service after December 31, 2025.
Before you start: what you need
This is an afternoon of planning plus a round of quotes, not a project you execute yourself, even though the homework genuinely pays off. Gather five things before you begin so each step below works from real facts rather than a guess.
- Your original system’s paperwork. The panel brand, model, and wattage, the inverter brand, model, and rated capacity, and the interconnection agreement your utility approved at install.
- A reason for the addition, in kilowatt hours. A new EV, a heat pump, a larger household, or a bill that has crept up over time, translated into roughly how many extra kilowatt hours a year you want to cover.
- An honest look at your remaining roof space. Which planes still have clear, unshaded, structurally sound area, and roughly how many more panels could physically fit.
- A recent utility bill and your net metering details. Which rate structure you are currently on and whether your system was grandfathered onto an older, more favorable one.
- A rough budget and an incentive check. A number you can spend, and a reminder that the federal credit is gone, so only a state or utility program you confirm yourself can lower the price.
With those five in hand, the seven steps below turn them into a panel count, a compatibility check, a permit, and a commissioned addition, in that order. The habit that saves the most money and regret is the same one that matters for a first install: decide the job before you call anyone, so you can judge a quote instead of simply trusting it.

Step 1: Name the reason you are expanding
Start by writing down, in one sentence, why you want more panels, because the reason sets both the size of the addition and how urgent it actually is. If a new EV or a heat pump is driving the decision, our EV charging field guide and the sizing math in our panel count briefing give you a kilowatt hour target to design around directly. If the reason is simply that your bills have crept up over the years as the household’s habits changed, pull twelve months of bills and compare today’s usage against what your system was originally sized for, the same discipline our bill reading field guide walks through.
Translate the reason into a number before moving on: how many extra kilowatt hours a year do you want the addition to cover. That figure is what Steps 2 through 5 size against, and skipping it is how homeowners end up either underbuilding an addition that does not meaningfully move the bill or overbuilding one that outruns what the roof and the inverter can actually support.
The watch out at this step is expanding reactively, ordering panels because a salesperson offered a deal, rather than because a number justifies it. An addition is its own permitted project with its own real cost, covered in Step 5, so it deserves the same deliberate sizing a first system gets, not an impulse purchase riding on an existing array’s goodwill.
Step 2: Check your roof for real usable space
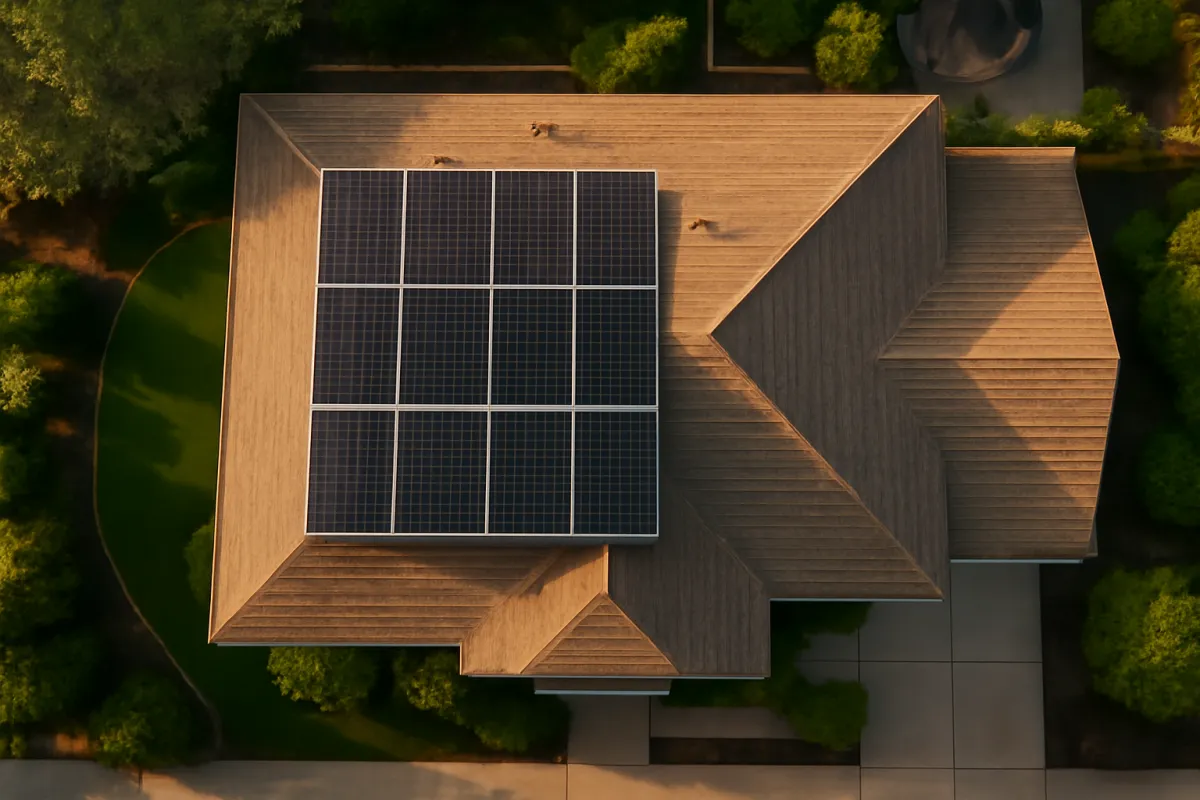
With a target in hand, look at what your roof can physically hold. Usable space is always smaller than it looks from the ground, because vents, chimneys, skylights, dormers, and code-required setbacks from ridges and edges all eat into a plane before a single panel goes up, the same arithmetic our sizing field guide walks through for a first install. If your original array used only one roof face, a second face facing a different direction is often the easiest place to add capacity, even though it will produce at a different rate than the original plane.
Shading deserves a second look here specifically because it can have changed since your original install. A tree that was a sapling five years ago can now throw real afternoon shade across a plane that was clean on installation day, and a neighbor’s new addition or a satellite dish can do the same. Walk the roof, or have your installer do a fresh shade assessment, rather than assuming the original site survey still applies to a plane you are now considering for the first time.
The watch out is counting total square footage rather than usable square footage. A roof that looks spacious from the street can have very little contiguous, unshaded, structurally sound area once vents, setbacks, and the original array’s own footprint are subtracted. If the honest usable space falls short of what your target from Step 1 needs, a ground mount, a carport, or accepting a partial offset are the realistic answers, the same menu our sizing field guide covers for a first system.
Step 3: Check your inverter’s spare capacity
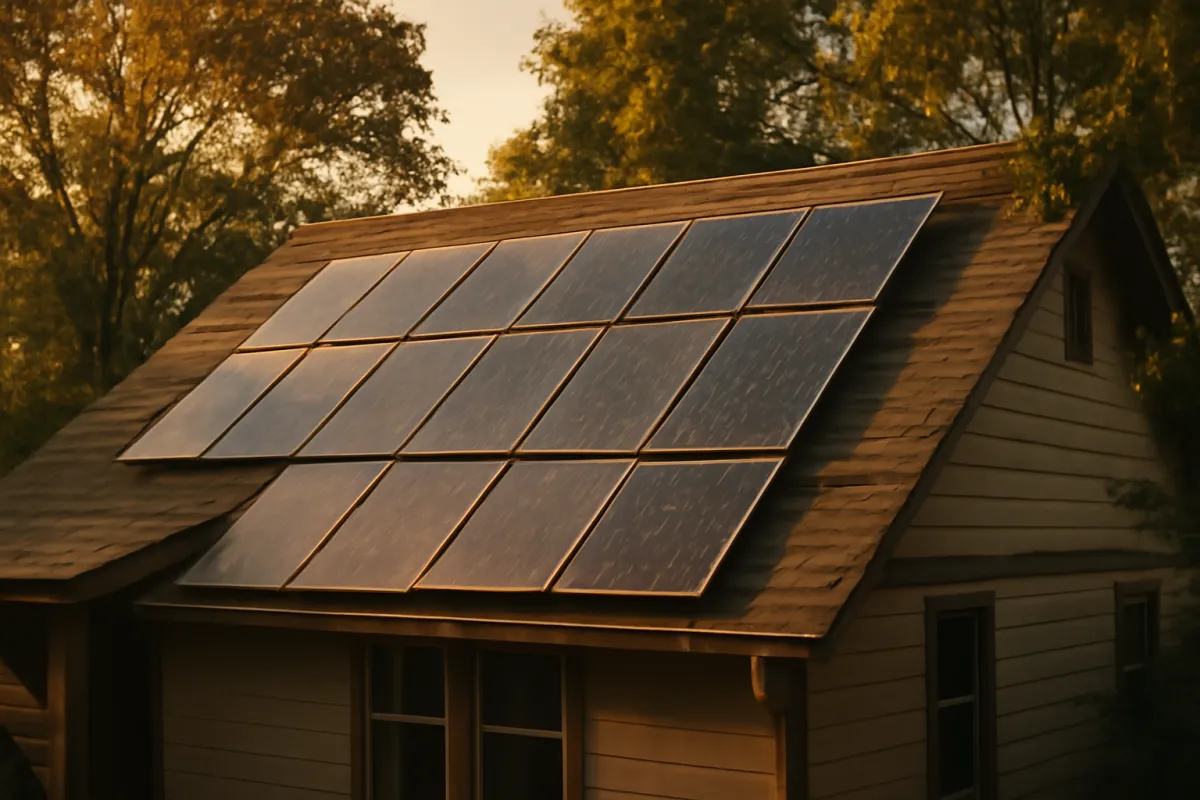
This is the step that most often decides whether an addition is a simple tie-in or a bigger project than expected, and it hinges entirely on what kind of inverter your original system uses. A string inverter has a rated maximum AC output and a DC input voltage window it was sized against, and installers commonly leave some headroom, but there is a real ceiling. Adding enough panels can mean the string no longer fits the inverter’s voltage window or that the inverter simply cannot pass the extra power, in which case the expansion effectively becomes an inverter upgrade project layered onto a panel addition.
A microinverter system behaves very differently, because each panel carries its own small inverter, so the array’s capacity grows one panel at a time with no central component to outgrow. The practical ceiling in that case becomes your electrical panel and circuit capacity rather than a single inverter’s rating. Our microinverters versus string inverters comparison covers this trade-off in full, and it is worth reading before Step 4 if you are not certain which architecture your original system uses.
The watch out is assuming your existing inverter has room simply because the array looks modest. Get the actual datasheet, the model number stamped on the unit, and have your installer run the numbers for your specific addition rather than estimating from a general rule of thumb. An inverter that cannot accept the planned addition is not a dealbreaker; it usually just means pricing a second string inverter or a larger replacement unit into Step 5’s budget rather than being surprised by it mid-quote.
Step 4: Match the new panels to your old ones
Panel technology moves fast enough that panels bought even a few years ago are rarely still in production, so an exact match is often simply unavailable. The practical goal is close enough, not identical, and how close matters more depends again on your inverter architecture from Step 3. On a string inverter, meaningfully different wattage or voltage between old and new panels can force the new panels onto their own separate string rather than extending the original one, which your installer should confirm against the inverter’s accepted input range before ordering anything.
On a microinverter system, mismatched panels are mostly a cosmetic question rather than a technical one, since each panel operates independently of its neighbors. Even there, it is worth asking your installer whether a visibly different frame color or a slightly different panel dimension bothers you enough to pay a premium for a closer aesthetic match, since that is a preference, not a requirement.
The watch out is discovering the mismatch after the new panels arrive. Confirm with your installer, in writing, whether the addition will tie into the existing string, run as a separate string, or operate independently through microinverters, and whether your home’s monitoring will show the addition as part of the original array or as its own separate entry. A clean technical answer here avoids an ugly surprise on the roof or in the monitoring app later.
Step 5: Price the expansion and confirm incentives
Now put a number on it. Residential solar commonly installs at an illustrative $2.50 to $3.50 per watt gross for a full new system, the same range our cost briefing works through in depth, but an addition frequently runs above that range per watt even with identical hardware. The reason is straightforward: mobilization, permitting, and inspection cost roughly the same whether a crew is installing twenty panels or six, so that overhead is spread across far fewer watts on a small addition, and any inverter upgrade identified in Step 3 adds its own line item on top.
The federal side of the budget is settled, and settled at zero. The residential clean energy credit under section 25D was terminated early by Public Law 119-21, and the IRS is explicit that it is not available for any property placed in service after December 31, 2025, which applies to an addition exactly as it applies to a first install. Budget the gross, full price. Some states and utilities still run their own solar programs independent of the federal credit, and those are worth checking with your own utility or state energy office, but take the tax question itself to a qualified tax professional.
The watch out is scaling your original per-watt price to estimate the addition’s cost, which almost always understates it. Get written, itemized bids for the specific addition, including any inverter work, and compare them per watt against each other rather than against what your first system cost years ago, the same discipline our installer field guide applies to a first project.
Step 6: Re-permit and re-file the utility interconnection
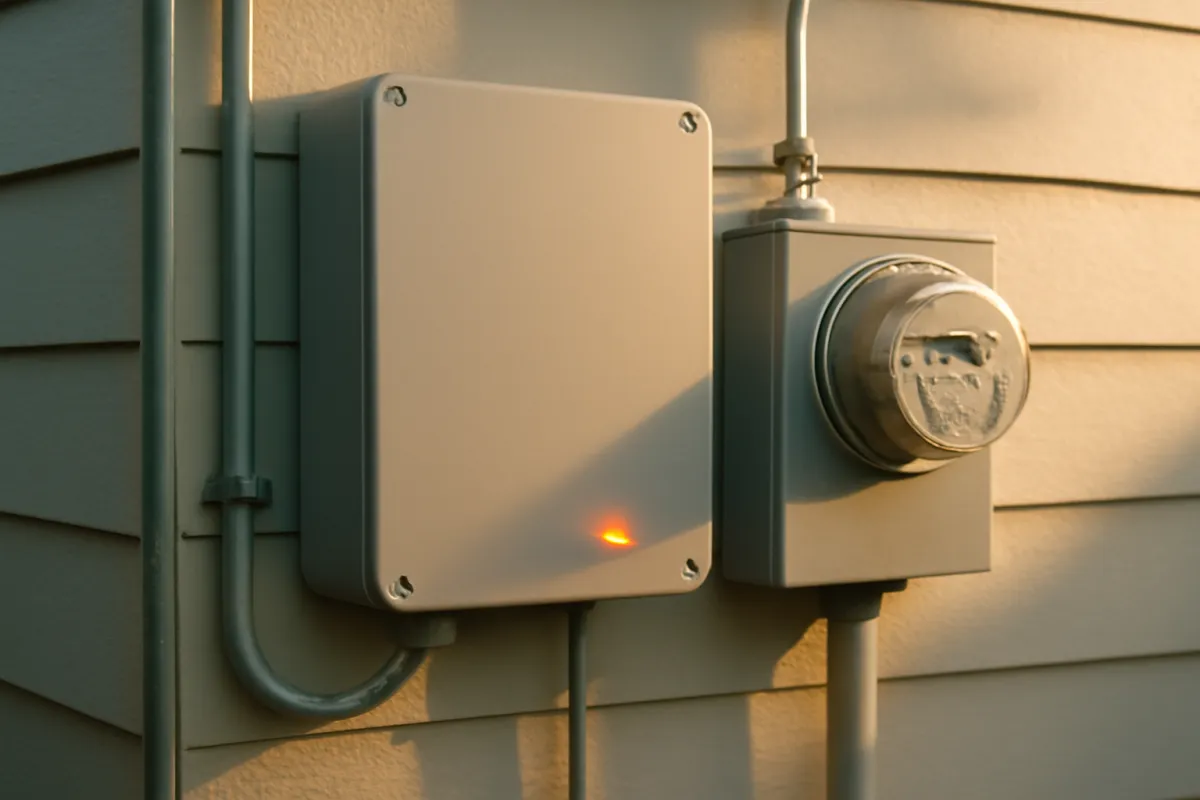
A solar addition is a change to an already-interconnected system, and it needs its own permit and its own utility paperwork even though your original array went through the same process years ago. Expect two parallel tracks, the same two that governed your first install: an electrical permit and inspection through your local building department, confirming the added work meets current code, and an amended interconnection agreement with your utility, confirming the larger system is approved to connect.
The detail that catches owners off guard belongs specifically to expansion rather than to a first install. Some jurisdictions and utilities grandfather older solar installations onto a net metering rate more generous than what is offered to new interconnections today, and in some of those places, expanding the system’s capacity can trigger a re-review that reclassifies the whole array, not just the new panels, under the current rate. This does not happen everywhere, and it is not automatic where it does apply, but it is exactly the kind of detail that is cheap to ask about before signing a contract and expensive to discover afterward. Our net metering explainer covers how these rate structures work in general.
The watch out is treating the paperwork as a formality because the system is “already approved.” Ask your utility directly, in writing, two questions before you commit: does adding this capacity require a new interconnection review, and does it affect the net metering rate your existing, unchanged panels are billed under. Get the answer before signing, not after the new panels are already on the roof.
Step 7: Hire an installer and commission the addition
The last decision is who does the work, and for a grid-tied rooftop addition the answer is almost always a licensed installer, for the same reasons that governed your first install. Tying new panels into an existing array and into your home’s electrical system is licensed electrical and structural work in nearly every jurisdiction, your utility will not approve an interconnection amendment for unpermitted work, and a self-install risks voiding the warranty on both the new equipment and, in some cases, the original system it is connected to.
Your original installer is a reasonable first call, since they already know your system, but is not automatically the right choice. Get at least one additional quote, the same comparison discipline our installer field guide recommends for a first system, and ask specifically about their experience tying additions into existing arrays rather than only building new ones, since the two jobs are not identical in practice.
Commissioning is the final act. The crew should confirm the addition is correctly wired into the existing string or operating independently as planned in Step 4, that your monitoring shows the full combined array correctly, and that the system has passed its inspection and received permission to operate from your utility before you count on the new production. The watch out is assuming the job is done once the panels are physically mounted; an addition is not actually finished, in the sense that matters for your bill, until the inspection and the interconnection approval are both in hand.
How much more production common expansions add
Seeing the production gain in context helps before you commit to a size. The bars below are illustrative annual kilowatt hours added at a common 1,314 kilowatt hours per kilowatt per year production assumption and 400 watt panels, scaled from a small top-up to a larger addition.
Added annual production by expansion size
Illustrative, at 400W panels and about 1,314 kWh per kW per year. Your own roof and climate will move these.
Bar widths track annual kWh against the 6,310 kWh reference bar (2,100 of 6,310, 3,150 of 6,310, 5,260 of 6,310, 6,310 of 6,310). Run your own panel count and climate through the companion calculator for your exact figure.
Read the chart against the reason you named in Step 1. An EV adding an illustrative 3,000 to 4,000 kilowatt hours a year, the range our EV charging field guide works through, sits close to the typical addition bar, while a heat pump or a larger household shift can land anywhere across the range depending on the specific load. Size the addition to the reason, not to whatever number of panels happens to fit the available roof space.
Where an expansion’s cost actually goes
Understanding the split helps you read an addition quote and spot where the premium over your original per-watt price is actually coming from. The shares below are illustrative for a typical modest addition onto an existing string inverter system with no required inverter upgrade.
Where a typical expansion's cost goes
Illustrative share of installed cost for a typical modest addition. Sums to 100%.
Labor, permits, and interconnection together make up roughly a third of a modest addition, noticeably more than their share of a full first install, which is the arithmetic behind the higher per-watt price in Step 5. An inverter upgrade, where one is needed, adds its own separate line on top of this split.
The takeaway is that panel hardware, the part that scales directly with your production target, is still the largest single share, but the fixed-cost pieces, labor, permits, and interconnection filing, together claim a noticeably bigger slice than they do on a full first install. That is the honest arithmetic behind why a six panel addition rarely costs six panels’ worth of your original per-watt price.
String inverters versus microinverters for an expansion
Because the inverter question in Step 3 shapes nearly everything else about an addition, it is worth laying the two architectures side by side specifically for expansion. Both can accept more panels; they differ sharply in how much friction that addition involves.
A string inverter system ties panels together in series up to a voltage window the inverter is rated for, and installers commonly leave some headroom at the original install, but that headroom has a ceiling. An addition that exceeds it means the new panels cannot simply extend the existing string, and the project becomes either a separate second string, a larger replacement inverter, or a second inverter entirely, each of which adds real cost beyond the panels themselves. This is the architecture where the Step 3 headroom check matters most, and skipping it is the single most common source of an addition quote coming in far higher than expected.
A microinverter system expands one panel at a time by design, since each panel carries its own conversion hardware and there is no shared central component to outgrow. The practical ceiling becomes the circuit and the electrical panel rather than a central inverter, which is also why Step 3’s check still matters, just at a different point in the system. If there is any realistic chance you will expand again in the future, choosing microinverters or power optimizers at the time of a first install, or when replacing an aging string inverter during this addition, is one of the few places equipment choice can pay for itself in a future project rather than only in daily production.
When net metering caps the size of your addition
Beyond the interconnection paperwork covered in Step 6, some utilities and state programs set an explicit cap on system size, commonly tied to a percentage of your historical annual usage, under which net metering applies at the favorable rate. A system already sized close to that cap has real headroom in theory on the roof and the inverter but very little headroom under the program rules that make solar pay off in the first place.
This is worth checking before Steps 2 through 5 rather than after, because it can change the honest size of the addition that is actually worth pursuing. Pull your net metering program’s rules, or ask your utility directly, what capacity limit applies to your account and how it is calculated. If your planned addition would exceed it, the addition can still proceed, but the portion above the cap may export at a far less favorable rate or fall under a different program entirely, which changes the payback math your panel sizing field guide and payback briefing would otherwise assume.
The watch out is sizing an addition purely to the reason from Step 1 without checking it against this cap. A household adding panels to cover a new EV’s full load, for example, could find that only part of the addition qualifies for full-value net metering, which does not make the project a bad idea but does change the honest payback you should expect.
A worked example: adding six panels to an existing 8 kW array
Take one household through all seven steps. The Hartley family’s existing system is 20 panels at 400 watts, an 8 kW array on a string inverter, installed several years ago and running comfortably within their household’s usage until a heat pump replaced their aging gas furnace this year.
Step 1 names the reason: the new heat pump is adding an illustrative 3,000 kilowatt hours a year to their usage, and they want to offset most of it rather than absorb it entirely as new grid draw. Step 2 checks the roof: a second, east-facing plane has enough clear, unshaded space for roughly eight more panels, more than the addition is likely to need. Step 3 checks the inverter: their string inverter has modest spare capacity, enough for six additional panels wired as a second string rather than extending the original one, confirmed against the manufacturer’s datasheet by their installer.
Step 4 matches the panels: the exact original model is no longer made, so they choose a comparable 400 watt panel from a different line, wired as its own string per Step 3’s finding, with a frame color close enough that the difference is barely visible from the ground. Step 5 prices it: six panels at an illustrative premium per watt above their original installation cost, landing near $7,500 gross for the addition, with no federal credit to subtract. Step 6 files the permit and the interconnection amendment, and their utility confirms in writing that the addition does not affect their existing net metering rate. Step 7 hires their original installer, who completes the tie-in, passes inspection, and confirms the combined 10.4 kW array is correctly reporting through the monitoring app before leaving.
Stress the example: if the Hartleys’ roof had no second usable plane, Step 2 would have redirected them toward a ground mount or a partial offset instead, and if their utility had capped net metering at their original system’s size, Step 6 would have reframed part of the addition’s payback. Price your own version in the companion calculator.
Common mistakes when expanding a solar system
The same handful of errors accounts for most expansion regret, and each is avoidable with the right question asked early.
- Skipping the inverter headroom check. Assuming a string inverter has room for more panels without reading its actual rated capacity can turn a simple tie-in into an unplanned inverter upgrade.
- Scaling the original per-watt price to estimate the addition. A small addition commonly costs more per watt than a full first install, because fixed costs like permitting and mobilization spread across fewer watts.
- Assuming the original interconnection approval still covers the addition. A solar expansion needs its own permit and its own utility filing, even on a system that was interconnected years ago.
- Not asking whether expansion affects a grandfathered net metering rate. In some jurisdictions, adding capacity can move the whole system onto a current, less favorable rate, not just the new panels.
- Ignoring a net metering size cap tied to historical usage. An addition can be technically possible while only partly qualifying for favorable net metering, which changes the real payback.
- Treating panel matching as purely cosmetic on a string inverter system. A meaningful wattage or voltage mismatch can force a separate string rather than a simple extension, which changes the wiring plan and sometimes the cost.
Troubleshooting: expansion edge cases
What if your roof has no usable space left? A ground mount, a solar carport, or accepting that the original array is near its practical ceiling on this roof are the honest answers, the same menu our sizing field guide covers for homes with constrained roofs. A second structure is a bigger project than a rooftop addition but is not an unusual one.
What if your inverter is near end of warranty anyway? This can be the right moment to replace it with a larger unit or move to microinverters as part of the addition, since you are already paying for an electrician’s time and a permit cycle. Price both paths, keep the old inverter and add a second one versus replace it outright, and let the comparison, not the convenience of the smaller job, decide.
What if you are not sure whether your system was grandfathered onto an older net metering rate? Pull your original interconnection agreement or call your utility directly and ask what rate structure your account is currently billed under and whether it differs from what new interconnections receive today. This single phone call can change whether an addition is worth pursuing at all in a jurisdiction where expansion triggers a re-review.
What if the new panels will be visibly different from the old ones? On a microinverter system this is purely an aesthetic question, and most owners find the difference unnoticeable from the ground once panels are up. On any system, ask your installer whether a closer-matching panel is available at a modest premium if appearance genuinely matters to you, since it is a preference worth pricing rather than assuming is unavailable.
Your solar expansion checklist
Work this top to bottom and you will reach a correctly sized, properly permitted addition rather than an expensive surprise.
- Write down the reason for expanding in one sentence and translate it into a target number of kilowatt hours.
- Walk your roof and identify genuinely clear, unshaded, structurally sound space beyond your existing array's footprint.
- Get your existing inverter's brand, model, and rated capacity, and have an installer confirm its spare headroom.
- Ask whether the new panels will extend the existing string, run as a separate string, or operate independently.
- Get written, itemized bids for the specific addition, priced per watt, including any inverter work.
- Ask your utility in writing whether the addition requires a new interconnection review and whether it affects your current net metering rate.
- Check whether your utility caps net metering capacity against your historical usage, and whether your planned addition fits under it.
- Hire a licensed installer, confirm the permit and interconnection are approved, and verify the combined array in your monitoring app.
The bottom line
Adding solar panels to an existing system is a project you can plan with confidence, even though the electrical work and the permitting belong to professionals. Name the reason for expanding, check your roof for real usable space, confirm your inverter’s spare capacity, match the new panels to your old ones as closely as the inverter architecture requires, price the addition honestly against a higher expected per-watt cost, re-permit and re-file the utility interconnection, then hire a licensed installer and confirm the whole combined array before counting on the new production. There is no federal credit to subtract from any of it, since section 25D is unavailable for property placed in service after December 31, 2025.
Run your own panel count, climate, and reason for expanding through the companion calculator on this page, and read it alongside our notes on choosing a solar installer, on net metering, and on charging an EV from solar if that is what is driving the expansion, so the addition you build fits your roof, your inverter, and your utility’s rules rather than a salesperson’s convenient package.
WattBarn publishes this field guide to help you plan a solar expansion and check an installer’s proposal, not to replace a licensed installer’s site visit or your utility’s own review. The roof areas, inverter capacities, panel counts, costs, incentive rules, and worked household above are illustrative teaching examples chosen to explain the seven-step method, not measurements or quotes for your home, and your real roof, existing equipment, utility rules, local permitting, and current incentive programs will produce different numbers that change over time. The federal residential clean energy credit under section 25D was terminated by Public Law 119-21 and is not available for property placed in service after December 31, 2025, so no price above assumes one. A rooftop solar addition is a permitted electrical and structural project, so let a qualified, licensed installer’s inspection, load calculation, and written proposal, along with your own utility’s written confirmation on net metering, rather than these worked sketches, decide the addition you actually build.
Frequently asked questions
Can I add more solar panels to an existing system?
In most cases yes, and it is one of the more common solar projects, usually prompted by a new EV, a heat pump, a home addition, or simply a system that was sized conservatively the first time. Whether it is straightforward depends on three things: whether your roof has genuinely usable space left, whether your existing inverter has the capacity to accept more panels or needs its own upgrade, and whether your utility's interconnection and net metering rules treat an addition as a simple amendment or a full re-review. None of those is usually a dealbreaker, but each deserves a real check before you order panels, which is what the seven steps in this field guide walk through in order.
Do new solar panels need to match my old ones exactly?
Not exactly, but closer is easier, and the gap matters more on a string inverter system than on a microinverter one. A microinverter array treats each panel independently, so mismatched wattage, even a different brand, is mostly a cosmetic concern rather than a technical one. A string inverter system wires panels in series, so adding panels with a meaningfully different voltage or wattage than the originals can push the string outside the inverter's accepted operating window, which sometimes means wiring the new panels as their own separate string rather than extending the old one. Your installer should confirm compatibility against your specific inverter's datasheet before ordering anything, not estimate it from memory.
Will adding panels affect my net metering rate or interconnection agreement?
It can, and this is the detail most homeowners miss. A solar addition is treated as a change to your interconnected system, so it typically requires its own permit and a new or amended interconnection filing with your utility, even though the original array already went through that process years ago. In some jurisdictions, expanding a system that was grandfathered onto an older, more generous net metering rate can trigger a re-review that moves the whole system, not just the new panels, onto whatever rate currently applies to new interconnections. Ask your utility directly, in writing, whether an addition affects your existing rate before you commit to the project.
Does adding panels mean I need a new inverter?
Sometimes, and it is one of the first things Step 3 of this field guide checks. A string inverter has a rated maximum capacity, and if your existing array is already using most of it, additional panels may need a second string inverter, a larger replacement unit, or a separate microinverter branch rather than simply tying into what is already there. A microinverter system sidesteps this almost entirely, since each added panel brings its own small inverter and the practical ceiling becomes your electrical panel and circuit capacity rather than a single central box. Our microinverters versus string inverters comparison covers the trade-off in more depth.
How much does it cost to add panels to an existing solar system?
Expect the per-watt price to run somewhat higher than your original installation, often meaningfully so, because a small add-on job still carries much of the same mobilization, permitting, and inspection overhead as a larger one, spread across far fewer watts. As an illustrative range, residential solar commonly installs at $2.50 to $3.50 per watt gross for a full new system, and a modest addition can land above that range per watt even with identical hardware, before accounting for any inverter upgrade the headroom check turns up. There is no federal residential credit to subtract from any of it, since section 25D is unavailable for property placed in service after December 31, 2025. Get written bids for your specific addition rather than scaling your original per-watt price.
Is there a federal tax credit for adding panels to an existing solar system?
No, not under the credit most homeowners remember. The federal residential clean energy credit under section 25D was terminated early by Public Law 119-21, and the IRS states plainly that it is not available for any property placed in service after December 31, 2025, which applies to an addition exactly as it applies to a brand new system. Budget the gross, full price of the expansion. Some states and utilities run their own solar incentive programs independent of the federal credit, and those are worth checking with your own state energy office, but take any tax question to a qualified tax professional rather than to an installer's sales sheet.
How long does it take to add panels to an existing system?
Plan for weeks rather than days, even though the physical installation itself is often a single day or two of work. The calendar is set mainly by the permit and interconnection steps, which can take anywhere from a couple of weeks to well over a month depending on your local building department and your utility's current review backlog, and by how quickly any required inverter or panel upgrade can be sourced and scheduled. The installation crew's actual time on your roof is almost never the bottleneck. Ask your installer for a realistic start-to-commissioning timeline in writing before you count on the extra production by a specific date.
Can I add panels to my solar system myself to save money?
For a grid-tied rooftop addition, generally no, for the same reasons that apply to a first installation. Tying new panels into an existing array and into your home's electrical system is licensed electrical work in nearly every jurisdiction, your utility will not approve an interconnection amendment for unpermitted work, and a self-install risks voiding both the new and the original equipment's warranties. What a homeowner can genuinely do without a license is the comparison shopping and the roof and inverter headroom checks in Steps 2 and 3 of this field guide, which is exactly where a careful owner saves real money, by walking into quotes already knowing what the job should and should not require.