
What's on this page
- Before you start: what you need
- Step 1: Decide if your panels actually need cleaning
- Step 2: Put safety first
- Step 3: Pick the right time to clean
- Step 4: Use the right method and tools
- Step 5: Clean from the ground whenever you can
- Step 6: Check production and set a cleaning schedule
- A worked example: cleaning one dusty array
- What dirties solar panels most
- Where lost output actually goes
- Common mistakes when cleaning solar panels
- Troubleshooting: tricky cleaning situations
- Your solar panel cleaning checklist
- The bottom line
Short answer: Clean solar panels only when production data shows dirt is cutting output, since rain does most of the work. When they need it, use plain cool water from a hose and a soft brush or squeegee on an extension pole, early morning or evening on a cool overcast day, working from the ground. Never use a pressure washer, abrasives or harsh chemicals, and never climb a wet, steep or high roof.
Washing solar panels has a reputation for being unnecessary, and for a rooftop array in a rainy climate that reputation is mostly earned, which is exactly why so many owners either ignore cleaning entirely or overdo it in ways that put them at real risk. The honest picture sits between those extremes. Dirt does sometimes cut output enough to matter, but the panels are almost always cleaned best by plain water, gentle tools, and a cool morning, and the most dangerous part of the whole job is never the dirt, it is the roof. By the end of this field guide you will know how to tell when your panels actually need cleaning, how to do it without hurting yourself or the glass, and when the smart move is to hire someone with a harness instead.
This field guide walks the whole routine in order: decide whether the panels even need cleaning, put safety first, pick the right time of day, use the right method and tools, clean from the ground whenever you can, and then check your production and set a sensible schedule. It sits alongside the broader solar maintenance field guide, which covers monitoring, inspection, and the inverter, and it pairs with our note on how long solar panels last when you want to tell a real problem from the slow, normal fade of age. Open the companion calculator as you read to sanity-check whether the output drop you are seeing is even worth cleaning for.
Key takeaways
- Clean only when it pays: rain does most of the work, so let your production data, not the look of the glass from the driveway, tell you whether dirt is actually cutting output.
- Safety beats a few percent every time: never climb onto a wet, steep, or high roof to clean panels, and hire a professional for any array you cannot reach safely from the ground.
- Plain cool water and a soft brush or squeegee are the right tools; never use a pressure washer, abrasive pads, harsh chemicals, or cold water on hot glass.
- Time it right: clean early morning or evening on a cool, overcast day so the panels are not hot and the water does not dry into spots.
- Check output on similar sunny days before and after, and if it does not recover, the loss was shade, a fault, or age, not dirt.
Before you start: what you need
This field guide is a light cleaning routine, not a rooftop repair job, so the tools are simple and the most important preparation is honesty about access and safety. Cleaning solar panels well is less about equipment than about doing a gentle job at the right moment and refusing to take a risk for a small reward. Before you touch anything, gather a few things and answer one hard question about whether this is a job for you at all.
Gather these before Step 1:
- Plain water and a way to deliver it gently: a garden hose with a normal spray nozzle is ideal. Skip the pressure washer entirely. In hard-water areas, a jug of deionized or distilled water for a final rinse helps avoid mineral spots.
- A soft, non-abrasive tool: a soft-bristle brush or a rubber squeegee, ideally on a telescoping extension pole so you can reach the array from the ground. Nothing gritty, stiff, or metal.
- The right weather window: a cool, overcast morning or evening. Not a hot, sunny midday, when the glass is hot and water dries into streaks before you can wipe it.
- Honest access and safety gear: a clear-eyed look at whether you can reach the panels from the ground or a stable, dry, low surface. If the answer is a steep or high roof, the gear you need is a professional’s phone number, not a ladder.
Difficulty is genuinely low when the panels are reachable from the ground, and it climbs to genuinely dangerous the moment a roof is involved, which is the whole reason safety gets its own step below. Time is short, an illustrative twenty to forty minutes for an accessible array. What matters most is the judgment before you begin: if cleaning would mean climbing onto a roof you are not equipped to work on safely, stop here and hire a professional. With plain water, a soft tool, a cool morning, and a safe way to reach the glass in hand, the six steps below turn a dusty array back into a clean one without drama.
Step 1: Decide if your panels actually need cleaning
Start by resisting the urge to clean at all, because the first honest question is whether dirt is actually costing you anything. Rain rinses most light dust off a tilted rooftop array on its own, and a thin, even film of dust barely dents output, so cleaning perfectly clean-enough panels is effort and risk spent for almost nothing. The place to look is not the glass from your driveway but your production monitoring, which turns the question into a number. If output on recent sunny days is tracking your usual baseline for the season, the panels are doing their job and cleaning is cosmetic.
Dirt matters when it is heavy, uneven, or persistent. A crust of dried mud, a shadow of bird droppings, a spring layer of pollen, or the caked dust of a long dry spell can shade cells enough to pull output down in a way that shows up in the data. As an illustrative sense of scale, light, even soiling commonly costs only a low single-digit percentage of output, while heavy or patchy soiling in a dry, rainless climate can cost more. The way to be sure is to compare production on similar bright days against what the same array made when you know it was clean, exactly the baseline our companion calculator helps you set.
Watch out for blaming dirt for a drop that dirt did not cause. If output has fallen and the glass looks clean, the culprit is more likely new shade from a growing tree, a fault, or the slow, normal fade of age, none of which a cleaning fixes. Our broader solar maintenance field guide walks through separating those causes, and the lifespan field guide explains why a small yearly decline is expected rather than alarming. Clean because the data and your eyes agree the panels are genuinely dirty, not out of habit. A confirmed reason is what carries you into the safety decision in Step 2.
Step 2: Put safety first
Before you fill a bucket, settle the safety question, because cleaning solar panels is one of those jobs where the reward is small and the worst case is severe. Falls from roofs and ladders cause serious injuries every year, and no amount of recovered output justifies one. Two hazards sit on top of each other here: height, and electricity. A solar array carries live direct-current voltage in daylight even when the grid is switched off and even when your inverter is on, so the wiring, connectors, and the back of the panels are not things to poke, pry, or spray at close range. Your job is the glass, gently, from a safe position, and nothing else.
Set firm rules for yourself and do not bend them for a little dirt. Never work on a wet roof, which becomes slick the moment you add water, and wet is exactly the state cleaning creates. Never work on a steep or high roof without proper fall protection and training, the kind a professional has and most homeowners do not. Do not lean a ladder against gutters or work alone where a fall would go unnoticed, and keep water and hoses well away from the inverter, the connectors, and any exposed wiring. If you would not feel safe standing on that surface with dry shoes and no bucket, you certainly should not do it wet.
This is where hiring a professional is the correct answer, not a cop-out. If your panels sit on a second story, a steep pitch, or any roof you cannot access with real fall protection, a professional cleaner or your installer has the harnesses, ladders, and experience to do it safely, and the cost is modest against the risk. Watch out for the trap of talking yourself onto a dangerous roof because the day is nice and the dirt is bothering you. The rule that keeps you safe is simple: if you cannot clean the panels from the ground or a stable, dry, low surface, you hire someone who can. Everything in the next four steps assumes you have cleared this one honestly.
Step 3: Pick the right time to clean
Choose your moment before you choose your method, because when you clean changes both how well it works and how safe it is. The target is cool, not hot: early morning or evening, ideally on an overcast day, when the panels have not been baking in the sun. Hot glass is a problem for two reasons. First, cold water hitting hot glass creates a sudden temperature shock that can crack a panel, an expensive way to ruin a free cleaning. Second, on hot panels the water evaporates almost instantly, leaving behind exactly the mineral spots and streaks you are trying to remove, so you finish with glass that looks worse than when you started.
Early morning has a particular advantage beyond temperature: many panels carry a light overnight dew that has already begun to soften dust and droppings, so a gentle rinse does more with less scrubbing. An overcast, still day is better than a bright, windy one, since wind dries water fast and can blow debris back onto wet glass. Avoid the middle of a hot, sunny afternoon entirely. As an illustrative habit, aim for the first hour or two after sunrise, or the last hour before dusk, when the array is cool to a cautious touch and the light is flat.
Watch out for two timing traps. The first is cleaning right after a dust storm, a pollen surge, or a construction phase nearby while the source is still active, since the panels will re-soil within days and you will have taken the risk for a cleaning that does not last. Wait until the source settles. The second is cleaning on a day that is cool because it is wet: a rainy or recently rained-on roof is slick and dangerous, and if rain is falling anyway, it is already doing your job for free. The sweet spot is a dry, cool, overcast, calm morning, panels cool to the touch, no rain on the roof. Pick that window and the actual cleaning in Step 4 becomes easy and low-risk.
Step 4: Use the right method and tools
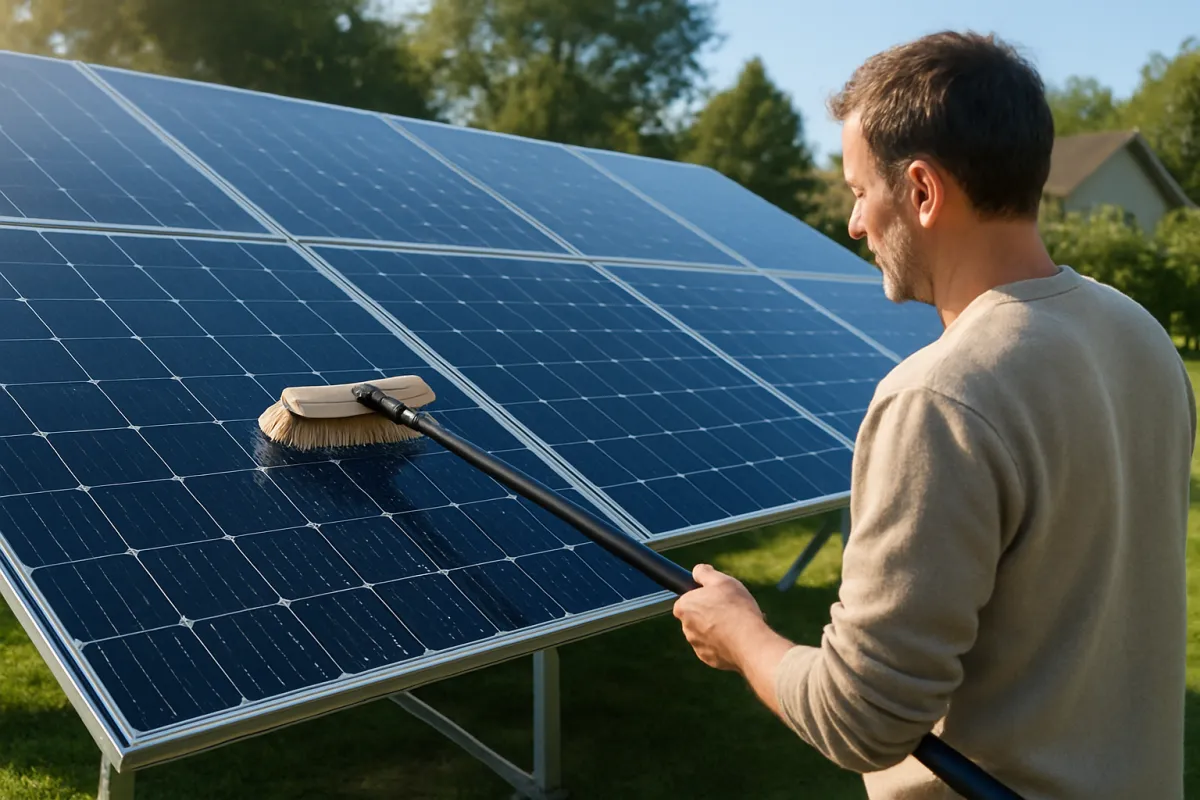
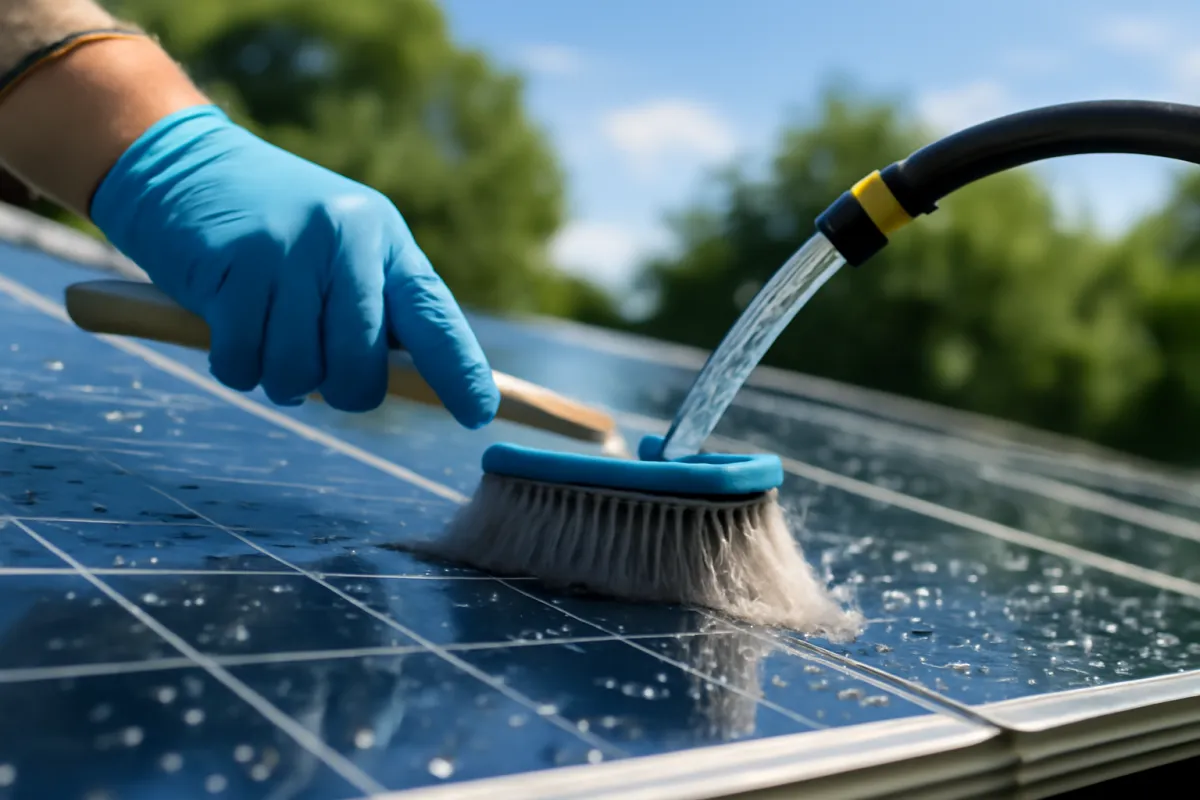
With a cool morning and a safe position secured, clean with the gentlest method that works, because the glass has a delicate anti-reflective coating that harsh tools quietly ruin. Start with water alone. A plain rinse from a garden hose with a normal nozzle clears most loose dust and pollen, and for many arrays that rinse, followed by a light pass with a soft brush or rubber squeegee, is the entire job. Work top to bottom so dirty runoff does not re-soil clean glass, use long gentle strokes rather than hard scrubbing, and let stubborn spots soak for a minute so they loosen instead of forcing them.
The tools that matter are the soft ones. A soft-bristle brush or a rubber-bladed squeegee, ideally on a telescoping extension pole, lets you clean thoroughly without pressing hard or getting closer than you need to. What you must never use is anything abrasive or forceful: steel wool, scouring pads, stiff or wire brushes, and gritty scrubbers all scratch the coating, and a scratch costs a little output forever. Skip the pressure washer without exception, since its force can drive water past the panel seals, crack the glass, or dislodge a connection, and it can void your warranty. And keep cold water off hot glass, per Step 3.
Go easy on chemicals. Plain water is the preferred cleaner and handles nearly everything; reach for a mild, glass-safe soap only for a greasy spot water will not lift, and rinse it away completely so no residue streaks the cells. Avoid strong detergents, solvents, and household cleaners not rated for glass, which can leave films or attack the coating and seals. In hard-water areas, tap water can dry into mineral spots, so finish with a rinse of deionized or distilled water, or squeegee the panels dry before the water evaporates. Watch out for the instinct to scrub harder when a spot resists: if gentle cleaning will not lift it, leave it, because a permanent scratch is a worse outcome than a small stain.
Step 5: Clean from the ground whenever you can
Make the ground your default position, because the single biggest safety upgrade you can give this job is simply not climbing. A great deal of residential solar can be cleaned entirely from the ground or from a stable, dry, low surface, and the equipment to do it is inexpensive. A telescoping extension pole fitted with a soft brush or squeegee head, paired with a hose, reaches the lower and middle rows of many roofs and the whole of a ground-mount array without your feet ever leaving solid ground. Some poles even carry water through the handle so you rinse and brush in one motion, which keeps you steady and dry.
Set up so you never overreach. Stand where your footing is solid, keep the pole in front of you rather than stretched out to the side, and move your position along the array instead of leaning to reach a far panel, since overreaching is how people lose balance even from the ground. Rinse first to knock off loose grit, then brush gently top to bottom, then a final rinse, working one accessible section at a time. Ground-mount arrays are the easy case here: they are built at a reachable height by design, so there is rarely any reason to get near live wiring or to climb at all.
Watch out for the panels a ground pole cannot safely reach. If the top rows of a two-story roof stay dirty after you have done everything possible from below, resist the urge to bring out a taller ladder or step onto the roof to finish the job. That last ten percent of coverage is the part that is not worth the fall. Either accept that the reachable panels are clean and the top rows will wait for rain, or hire a professional with proper access for the whole array. As covered in Step 2, an array you cannot safely reach from the ground is a job to hand off, and doing the reachable part from the ground while leaving the rest to a pro is a perfectly sensible split.
Step 6: Check production and set a cleaning schedule
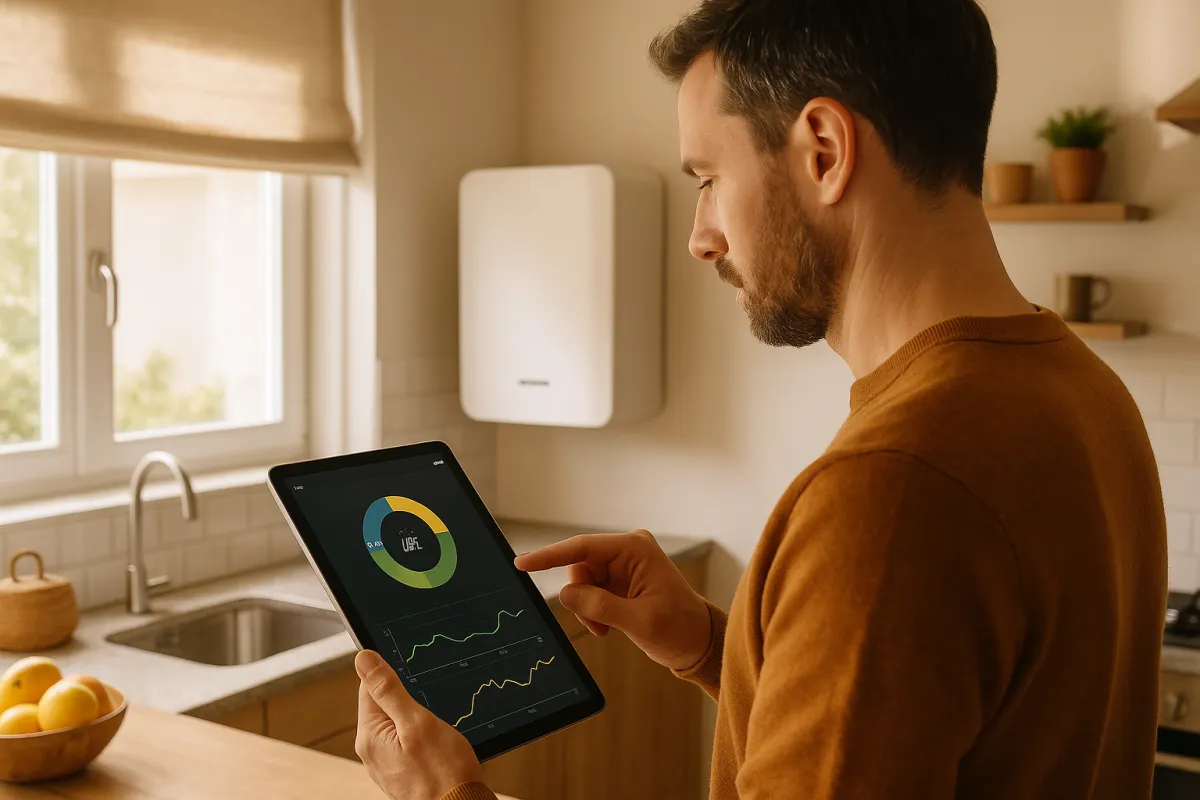
Finish the way you started, with data, because checking your production after cleaning is what tells you whether the effort did anything and what turns a one-time chore into a sensible habit. Give the panels a day or two of comparable weather, then compare output on a bright day against a similar bright day from before the cleaning, using your monitoring app. If the array was genuinely soiled, you should see a modest recovery; as an illustrative outcome, lightly dusty panels might regain a low single-digit percentage, while heavily soiled panels in a dry climate can recover more. Confirming the gain is what separates a cleaning that mattered from one that was cosmetic.
If output does not recover after a proper cleaning, that is valuable information rather than a failure: the loss was almost certainly not dirt. Persistent shade from a growing tree or a new structure, an inverter or panel fault, or the slow, expected fade of age can all pull production down, and none of them respond to a bucket and brush. That is the moment to move from the companion calculator into the broader solar maintenance field guide to check the inverter and the array, and to read the lifespan field guide so a normal yearly decline does not get mistaken for a problem you can scrub away.
Then set a schedule that fits your setting rather than a generic calendar. A temperate home with frequent rain may need no deliberate cleaning at all and can simply watch the data. A home in a dry, dusty, high-pollen, coastal, or tree-heavy spot may benefit from one to a few light cleanings a year, timed after the pollen season or a dusty stretch. Watch out for over-cleaning, which adds risk every time you approach the array and gains you nothing once the glass is clean. The right rhythm is the least cleaning that keeps output near your baseline, confirmed by the numbers, not a habit of scrubbing panels that were already fine.
A worked example: cleaning one dusty array
Take one array through all six steps. The Okafor household owns a single-story home with a low-tilt, roughly south-facing roof in a dry, dusty region that sees little summer rain, and a 7 kilowatt system that made about 9,800 kilowatt-hours in its first year. Through late summer they notice their monitoring app is reading lower than it did on comparable bright days, and standing in the yard they can see an even, chalky film of dust across the glass with a couple of dried bird droppings near one edge. In Step 1 the data and their eyes agree: output on recent clear days has slipped an illustrative eight percent below their clean baseline, and the panels are visibly soiled, so cleaning is justified.
Steps 2 and 3 set the conditions. The roof is a single story with a shallow pitch, but rather than climb it wet, they confirm the whole array is reachable with an extension pole from the ground, and they pick an overcast morning just after sunrise when the panels are cool to a cautious touch. They keep the hose well away from the inverter and connectors. In Step 4 they rinse the array first, let the dried droppings soak for a minute or two, then brush gently top to bottom with a soft-bristle head on the pole, and because their tap water is hard, they finish with a squeegee pass to keep it from drying into mineral spots. In Step 5 they work one section at a time from solid footing, never overreaching, and reach every panel without a ladder.
Step 6 checks the result. Two days later, on a comparably bright day, their app reads noticeably higher, and the roughly eight percent gap has largely closed, confirming the loss was soiling and the cleaning was worth it. They note that their dry, low-tilt, dusty setting is exactly the case where cleaning pays, and they pencil in a light cleaning once or twice a year after the dustiest stretch, to be confirmed by the data rather than the calendar. Every figure here is illustrative, chosen to show the routine: the eight percent drop, the 7 kilowatt system, and the recovery are teaching numbers, not a promise for your roof. Run your own before-and-after in the companion calculator.
What dirties solar panels most
Not all soiling is equal, and knowing what actually dirties panels in your setting tells you how much cleaning you are likely to need, because the array in a rainy suburb and the array beside a dusty field live very different lives. The chart below ranks the common causes of soiling by how heavily they tend to load the glass, scaled to the worst case. It is an illustrative ranking to guide expectations, not a measurement of your specific roof, and your own mix of climate, surroundings, and roof tilt decides which bars matter to you.
What dirties solar panels most
Illustrative relative soiling load by cause. Bars scale to the heaviest case.
Illustrative loads, not measurements. The pattern is what matters: dry, dusty, and low-rain settings dirty panels fastest and gain most from cleaning, while frequent rain keeps a tilted array clean enough that deliberate cleaning barely moves output.
Read down the bars and your schedule writes itself. If you live where the top bars apply, in a dry, dusty, farming, or high-pollen area, expect to clean a few times a year and to see a real gain when you do. If your setting sits near the bottom, where rain is frequent and the roof is well tilted, expect the weather to handle most of it and cleaning to be occasional and low-payoff. Bird droppings and sap near trees are the wildcard, since they are patchy and can shade a cell out of proportion to their size, which is why spot-cleaning a dropping is often worth more than a full wash.
Where lost output actually goes
Before you clean anything, it helps to see that dirt is only one of several reasons an array underproduces, because cleaning can only fix the share that soiling actually causes. The chart below splits an illustrative case of lost output across its common sources. The point is not that these exact shares apply to your roof, but that shade, age, and faults together usually account for more lost output than soiling does, so a cleaning that leaves a big gap unclosed is pointing you toward one of the other causes.
Where lost output actually goes
Illustrative split of an underperforming array's lost output by cause. Sums to 100%.
Illustrative shares of one underperforming array, not a universal split. Cleaning addresses only the soiling slice, so if output stays low after a proper wash, the loss is more likely shade, age, or a fault, which the maintenance field guide helps you chase.
The lesson is to clean with realistic expectations. Soiling is the slice a brush can recover, and in a dusty, low-rain setting it can be the largest single slice, which is why cleaning genuinely helps there. But for many rooftop systems shade and age together dominate the loss, and no cleaning touches those, so an owner who scrubs the panels hoping to erase a shade problem will be disappointed and may take a rooftop risk for nothing. Confirm the cause with your production data first, clean the soiling, and hand the rest to the solar maintenance field guide and, where age is the story, the lifespan field guide.
Common mistakes when cleaning solar panels
The same handful of errors accounts for most of the harm done in the name of clean panels, and every one of them is avoidable.
- Walking on the panels. The glass is not a walkway; standing on a panel can crack cells or create hidden micro-fractures that quietly cut output for years, and it can void your warranty. Clean from the ground or a stable surface beside the array, never from on top of it.
- Spraying cold water on hot glass. Hitting sun-baked panels with cold water can thermally shock and crack the glass. Clean on a cool, overcast morning or evening when the panels are not hot, per Step 3.
- Using abrasive tools. Steel wool, stiff or wire brushes, and gritty pads scratch the anti-reflective coating, and a scratch is a permanent, small output loss. Only soft brushes and rubber squeegees belong on the glass.
- Reaching for harsh chemicals or a pressure washer. Strong detergents and solvents can streak or damage the coating and seals, and a pressure washer can force water past the seals or crack the glass and void the warranty. Plain cool water does nearly the whole job.
- Climbing onto an unsafe roof. The most dangerous mistake of all is taking a fall risk on a wet, steep, or high roof for a few percent of output. If you cannot reach the panels safely from the ground, hire a professional, full stop.
- Cleaning far more often than the dirt warrants. Over-cleaning adds risk each time you approach the array and gains nothing once the glass is clean. Let production data, not a rigid calendar, decide when a cleaning is due.
Avoid these six and the worst that happens is clean panels and a normal afternoon. Fall into them and you can scratch the glass, crack a panel, void a warranty, or get hurt, all in pursuit of a gain that was usually small to begin with.
Troubleshooting: tricky cleaning situations
What if you have a ground-mount array rather than a rooftop one? This is the easy case, and the safe one. Ground-mount panels are built at a reachable height, so you can rinse and brush the whole array from solid footing with a hose and a soft brush, no ladder or roof access required. Work top to bottom, keep the spray away from the wiring and combiner box beneath the array, and you can clean a ground mount as casually as washing a car. It is the setting where doing it yourself makes the most sense.
What if hard water is leaving spots on the glass? Those spots are mineral deposits left behind when tap water evaporates on the panel, and they can themselves shade the cells slightly, so chasing them with more tap water only makes more spots. The fix is prevention: rinse with deionized or distilled water for the final pass, or squeegee the panels dry before the water can evaporate, and clean on a cool, overcast morning so the water does not flash-dry. If spots have already built up, a gentle wash with deionized water usually lifts them without any scraping.
What if bird droppings or sticky pollen will not rinse off? Do not scrape them off dry, which risks scratching the coating. Soak the spot with plain water for a minute or two so it softens, then lift it gently with a soft brush or cloth. Droppings are worth spot-cleaning even when the rest of the array is fine, because a single opaque spot can shade a cell out of proportion to its size. Pollen tends to return each spring, so time a light cleaning for after the heaviest pollen weeks rather than fighting it while it is still falling.
What if the panels are on a high or steep roof you cannot reach from the ground? This is the situation the whole field guide has been pointing at: hire a professional. A high or steep roof, especially once it is wet, is a serious fall hazard, and the modest output a cleaning might recover is never worth it. A professional cleaner or your installer has the fall protection, ladders, and experience to do the job safely, and it is an infrequent, low cost. Clean the reachable panels from the ground if you like, and hand the rest to someone equipped for the height.
Your solar panel cleaning checklist
Use this as the save-and-act summary. Work it top to bottom and you will clean only when it helps, and only in a way that is safe for you and gentle on the glass.
- Confirm the panels actually need it: check that production has dropped below your baseline on similar sunny days and that the glass is visibly soiled.
- Rule out non-dirt causes first, since shade, a fault, or normal age will not respond to cleaning.
- Decide access honestly: if you cannot reach the array safely from the ground or a stable, dry, low surface, hire a professional and stop here.
- Pick a cool, overcast morning or evening when the panels are not hot, and never work on a wet or slick roof.
- Keep water and tools away from the inverter, connectors, and any exposed wiring, which stay electrically live in daylight.
- Use plain water with a soft brush or squeegee on an extension pole; no pressure washer, abrasives, harsh chemicals, or cold water on hot glass.
- Work from the ground, top to bottom, one section at a time, without overreaching or walking on the panels.
- In hard-water areas, finish with deionized or distilled water or squeegee dry to avoid mineral spots.
- Check production a day or two later on a comparable bright day to confirm the cleaning actually recovered output.
- Set a schedule that fits your climate, cleaning the least that keeps output near baseline, confirmed by data not habit.
The bottom line
Cleaning solar panels is less a chore than a judgment call, and the owners who get it right are the ones who clean rarely, gently, and safely rather than often, hard, and high. Let your production data decide whether dirt is actually costing you anything, because rain does most of the work and a thin, even film barely matters. When the data and your eyes agree the glass is genuinely soiled, clean it on a cool, overcast morning with plain water and a soft brush or squeegee from the ground, keep water away from the wiring, and never trade a fall risk on a wet or steep roof for a few percent of output. Then check the numbers again to confirm the effort paid off.
The figures throughout, an illustrative eight percent drop on a 7 kilowatt array, a low single-digit gain on lightly soiled glass, and a larger recovery in a dry, dusty climate, are teaching examples rather than promises for your roof, and your own climate, tilt, surroundings, and monitoring will move every one. Above all, treat safety as the part that is not negotiable: if you cannot reach the panels safely from the ground, hire a professional who can, because no cleaning is worth an injury. Run your own before-and-after in the companion calculator, read it alongside the broader solar maintenance field guide and the lifespan field guide, and you will keep your panels producing without ever putting yourself at risk to do it.
WattBarn publishes this field guide to help you clean your solar panels safely and only when it helps, not to serve as safety, engineering, or electrical advice. The output drops, percentages, system sizes, and recovery figures above are illustrative examples chosen to teach the six steps, not measurements or promises for your array, and your own climate, roof tilt, surroundings, soiling, and monitoring will produce different results. Working at height and near live electrical equipment carries real risk of serious injury, so if your panels cannot be reached safely from the ground, have a qualified professional clean them, and let a licensed installer, rather than these worked sketches, handle anything involving your roof, wiring, or inverter.
Frequently asked questions
How do you clean solar panels safely?
The safest way is the simplest: work from the ground whenever you can, with plain water and a soft brush or squeegee on an extension pole, on a cool overcast morning rather than a hot midday. Never climb onto a wet, steep, or high roof to chase a little dirt, and never use a pressure washer, abrasive pads, or harsh chemicals on the glass. If the panels are out of reach from the ground and the roof is not something you can access with proper fall protection, the right move is to hire a professional cleaner rather than risk a fall. As an illustrative rule, the few percent of output that cleaning might recover is never worth a trip to the hospital.
Do solar panels need to be cleaned at all?
Often less than owners expect, because rain rinses away most light dust on its own, especially on a tilted rooftop array. Cleaning earns its keep mainly where rain is scarce, where the panels sit at a shallow tilt that lets grime settle, or where pollen, farm and construction dust, salt, or bird droppings build up faster than the weather clears them. The honest test is your production data rather than how the glass looks from the driveway: if output on similar sunny days has drifted below your baseline and the panels are visibly soiled, a cleaning is worth it. If output is holding steady, cleaning is mostly cosmetic and the illustrative gain is small.
How often should you clean solar panels?
For most rooftop systems, once or twice a year is plenty, and in rainy climates you may never need to do it deliberately at all. The right frequency depends on your setting: a home in a dry, dusty, or high-pollen area, near farmland or a busy road, or under trees that drop sap and droppings, may benefit from a few light cleanings a year, while a temperate home with frequent rain can lean on the weather. Let your production monitoring set the schedule rather than a calendar. Cleaning far more often than the dirt warrants wastes your time, adds risk every time you get near the array, and offers little extra output, since clean glass cannot get cleaner.
Can you clean solar panels with just a hose and water?
In many cases, yes, and plain water is the preferred cleaner. A gentle rinse from a garden hose, ideally followed by a soft brush or squeegee on light grime, handles most everyday soiling without any soap. Use a normal spray, never a pressure washer, whose force can drive water past the panel seals or crack the glass and can void your warranty. In hard-water areas, rinse water can dry into mineral spots, so a final pass with deionized or distilled water, or drying with a soft squeegee, avoids leaving a film. Skip dish soap and household cleaners unless a stubborn spot truly needs it, since residue and streaks can themselves shade the cells.
What should you never use to clean solar panels?
Avoid anything abrasive or harsh: steel wool, scouring pads, stiff or metal-bristle brushes, and gritty scrubbers all scratch the anti-reflective coating on the glass, and a scratched panel loses a little output permanently. Skip harsh or solvent-based chemicals, strong detergents, and anything not rated safe for glass, because residue can streak and some chemicals damage the coating or seals. Never use a pressure washer, which can force water past the seals, crack the glass, or dislodge a connection. And never clean hot glass with cold water, since the sudden temperature shock can crack a panel. When in doubt, plain cool water and a soft, non-abrasive brush is the tool that cannot go wrong.
Should you clean solar panels yourself or hire a professional?
Do the light, ground-level cleaning yourself, and hire a professional for anything that puts you on a steep, high, or slippery roof. Rinsing accessible panels or a ground-mount array with a hose and a soft brush on an extension pole is a reasonable homeowner task. But roof work carries a real fall risk, solar arrays carry live direct-current voltage even when the grid is off, and a wet roof multiplies the danger, so panels you cannot safely reach from the ground are a job for a pro with proper equipment. Professional cleaning is modest and infrequent, an illustrative low cost once or twice a year, and it is far cheaper than the alternative if a fall goes wrong.
How do you remove bird droppings, pollen, or hard-water spots from panels?
Soften first, then wipe gently, never scrape. For dried bird droppings or tree sap, let plain water soak the spot for a minute or two so it loosens, then lift it with a soft brush or cloth rather than scratching it off dry. A thin pollen film usually rinses away with water and a soft brush, and it tends to return each spring, so time cleanings after the heavy pollen weeks. Hard-water spots are mineral deposits left when tap water dries on the glass, so the fix is prevention: rinse with deionized or distilled water, or squeegee the panels dry before the water evaporates. If any spot resists gentle cleaning, leave it rather than risk scratching the coating.
Does cleaning solar panels really increase output?
It can, but usually by less than people hope, and only when the panels were genuinely dirty to begin with. On a lightly dusty array the gain from cleaning is often small, an illustrative low single-digit percentage, and rain would have recovered much of it anyway. The payoff is larger where soiling is heavy and persistent, such as dry, dusty regions with little rain, panels under constant pollen or droppings, or a shallow-tilt array where grime settles and stays. The way to know is to compare production on similar sunny days before and after cleaning rather than to assume a number. If output does not recover after a proper cleaning, the loss was probably shade, a fault, or normal age, not dirt.